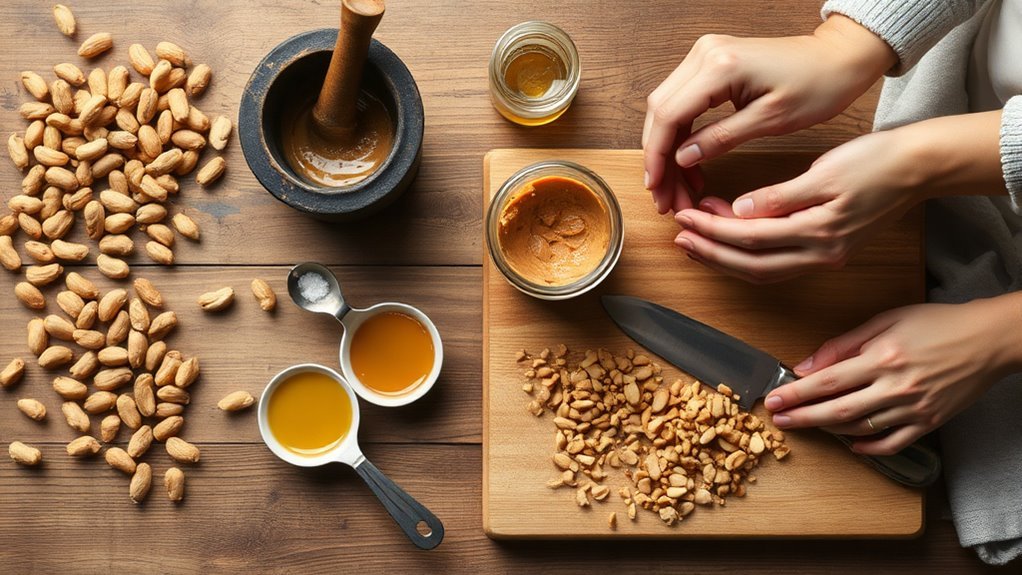
How Can You Make Peanut Butter Without a Food Processor in 10 Simple Steps?
You can make peanut butter without a food processor by choosing roasted, skinless peanuts and warming them to release oils for easier mashing.
Crush the peanuts into a coarse crumble using a mortar and pestle, rolling pin, or heavy spoon.
Add sea salt and optional neutral oil for better flavor and texture.
Fold in chopped peanuts if you like crunch.
Store it in an airtight jar and stir before use.
Follow these simple steps, and you’ll discover even more helpful tips for perfect peanut butter.
Choose Roasted, Skinless Peanuts for Best Results
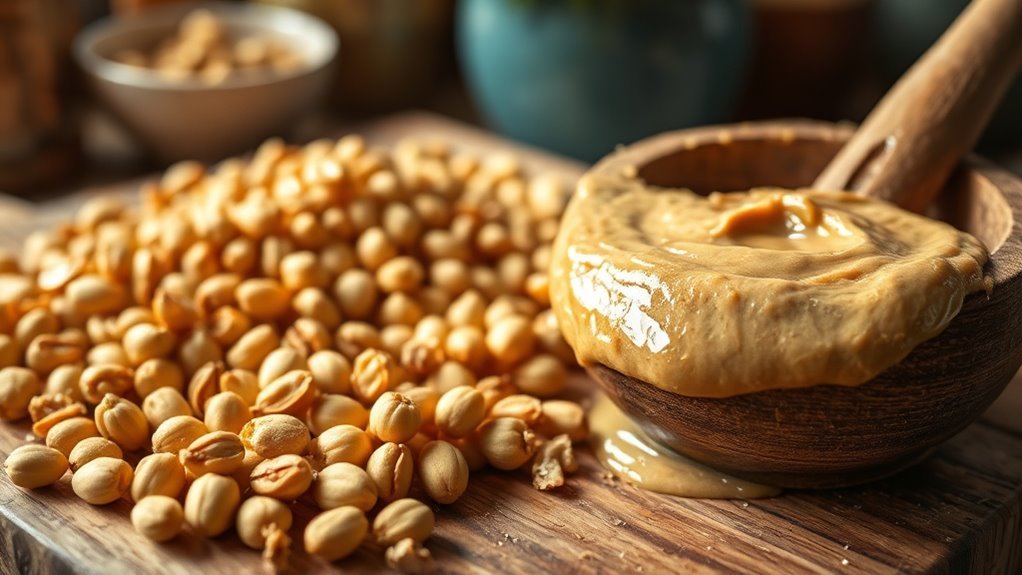
Although you can use raw peanuts, choosing roasted, skinless peanuts will give you the best texture and flavor when making peanut butter without a food processor. Roasted nuts release their natural oils more easily, which helps you achieve a creamy consistency without adding extra oil.
Using skinless peanuts also prevents bitter husk bits from ruining the smooth texture, so you won’t have to strain or process the mixture extensively by hand. Opt for unsalted peanuts to control the saltiness of your peanut butter. Adding sea salt afterward lets you customize the flavor perfectly.
If you only have raw peanuts, roast them yourself at 350°F for about 10 minutes until they turn golden and smell fragrant. This step not only boosts flavor but also speeds up the oil release during mashing.
For a little crunch, save some roasted nuts to chop finely and fold in after you finish blending your peanut butter by hand.
Roast Peanuts Without a Food Processor
Preheat your oven to 350°F (175°C) and spread your peanuts in a single layer on a baking sheet. Whether you start with raw or already roasted peanuts, roasting them at this temperature brings out their natural oils and enhances flavor. This is essential when you roast peanuts without a food processor.
Preheat to 350°F and roast peanuts evenly to unlock their rich, natural flavor and oils.
Raw peanuts need about 10–15 minutes until golden and fragrant, while pre-roasted peanuts only require 5–8 minutes to soften.
Keep these tips in mind:
- Stir peanuts halfway through roasting for even browning.
- Remove peanuts as soon as they smell nutty and look slightly darker to avoid bitterness.
- Let peanuts cool until warm; warm peanuts mash into butter more easily.
Tools That Make Mashing Peanuts Easier
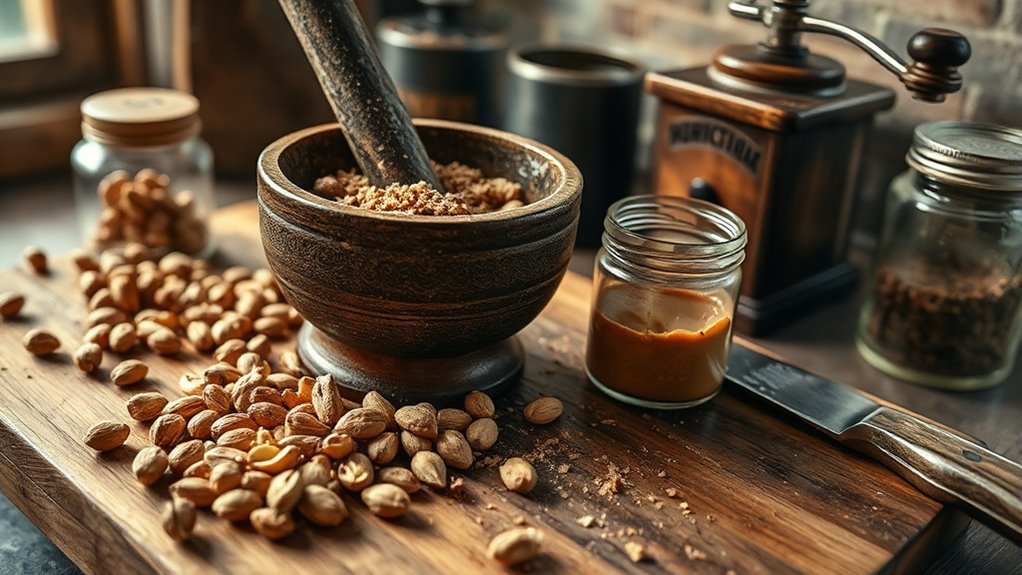
When you’re ready to turn your roasted peanuts into creamy butter, having the right tools can make the process much easier and faster. Making nut butters without a food processor is doable if you use handy kitchen gadgets that fit your needs and batch size.
Here’s a quick guide to tools that simplify mashing peanuts:
| Tool | Use Case |
|---|---|
| High-powered blender | Small batches; pause to scrape sides |
| Mortar and pestle | Small amounts; chunkier texture |
| Rolling pin + bag | Crush and mash by pounding and rolling |
| Electric stand mixer | Emulsify softened peanuts; less smooth |
| Hand blender | Puree in bursts; stir and scrape frequently |
Choose what suits your kitchen and patience level. Each tool offers a different approach to making nut butters, helping you achieve that perfect peanut butter texture without a processor.
Warm Peanuts to Release Oils for Easier Mashing
You’ll find that warming peanuts before mashing makes a big difference because the heat helps release their natural oils. Roasting them at around 350°F until they’re golden guarantees they soften and become easier to work with. Just be careful not to overheat—aim for warm, not scorching—to keep the flavor just right.
Benefits Of Warming
Warming peanuts at 350°F for 8 to 12 minutes helps release their natural oils, making them easier to mash or blend. When you warm peanuts at 350°F for about 8–12 minutes (until golden and fragrant), the oils soften the nuts, speeding up the mashing process and transforming a sandy crumb into a creamy, glossy texture with less effort.
You’ll notice that manual tools work better because warm peanuts are softer and more pliable.
Benefits of warming peanuts include:
- Reduced mashing time and effort due to released oils
- Enhanced nutty aroma and richer flavor, even with minimal salt
- Ability to reserve some peanuts for added crunch without them sinking
This simple step improves both texture and taste markedly.
Optimal Roasting Temperature
Although roasting peanuts at 350°F might seem straightforward, controlling the temperature and timing is essential to release their natural oils for easier mashing. Roasting peanuts evenly in a single layer for 8 to 12 minutes brings out their oils and aroma, making mashing quicker and smoother.
Stir halfway through to guarantee uniform roasting. Avoid roasting beyond 14 minutes or higher temperatures to prevent bitterness and oil loss. After roasting, let the peanuts rest 5 to 10 minutes so they stay warm, which helps oil release during mashing.
| Step | Details |
|---|---|
| Temperature | 350°F (175°C) |
| Time | 8 to 12 minutes |
| Peanut Layer | Single, even spread |
| Stirring | Once halfway through |
| Resting Time | 5 to 10 minutes off heat |
Crush Peanuts Into a Coarse Crumble by Hand
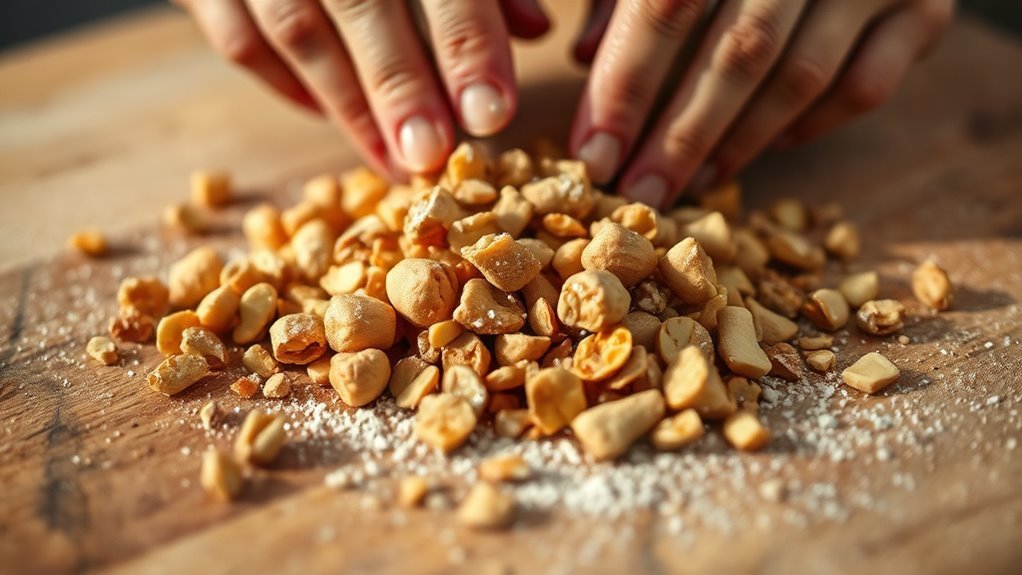
To crush peanuts by hand, start by grabbing a heavy-duty plastic bag. Then, use a rolling pin or meat mallet to break them into a coarse crumble. If you’re looking for a quicker way, pressing them with the flat side of a pan wrapped in a towel works pretty well too. Just make sure to work in small batches so you get an even texture without turning the peanuts into paste.
Effective Manual Crushing Techniques
Start by spreading 1 to 2 cups of roasted, skinless, unsalted peanuts in a single layer on a cutting board. Use a heavy chef’s knife or mezzaluna in a steady rocking motion to crush them into a coarse crumble. This takes about 5 to 10 minutes but sets the stage for turning peanuts into a thick paste.
Alternatively, place peanuts in a sturdy resealable bag, remove excess air, and pound with a rolling pin in short bursts. Check frequently to avoid over-crushing. For smaller amounts, use a mortar and pestle to grind peanuts in circular motions, controlling the texture.
Keep peanuts warm before crushing to release oils and reduce effort. Sift crushed peanuts through a fine mesh to remove larger bits. Reserve some whole peanuts for crunchy texture in your final spread.
Tools For Crushing Peanuts
Grab warm, roasted peanuts and choose the right tool to crush them into a coarse crumble. Place skinless peanuts in a heavy-duty resealable bag, remove excess air, and use a rolling pin or meat mallet to crush them with firm strokes for about 1–2 minutes.
Alternatively, use a mortar and pestle to pound peanuts in a circular motion until they reach pea- to cornmeal-sized pieces. You can also chop peanuts on a cutting board with a chef’s knife, rocking and re-chopping for 3–5 minutes per cup.
Or pulse them briefly in a less-powerful blender, scraping the sides often. These methods help you prepare the perfect coarse texture, essential for making smooth, homemade peanut butter without a food processor.
Press and Stir Peanuts to Create Smooth Butter
Roast skinless, unsalted peanuts at 350°F until golden and fragrant to release their oils, making them easier to press and stir. Once warm, place the peanuts in a sturdy bowl and use the flat side of a heavy spoon or mallet to crush them into a coarse paste.
Then, continuously press and stir the mixture with a spatula, folding it against the bowl’s sides to encourage oil release and break down solids. Repeat this pressing and stirring for 10–20 minutes, letting the bowl rest briefly every few minutes to let oils loosen. This technique mirrors how almond butter is handcrafted, relying on patience and manual effort to achieve smoothness.
To create creamy peanut butter without a food processor, use a heavy utensil to crush and press nuts effectively. Fold and smear the paste to maximize oil extraction. Allow resting intervals to help oils separate and soften the mix.
This hands-on method opens up rich, natural flavors and a satisfying texture.
Add Sea Salt and Optional Oil for Flavor and Texture
Add a pinch of fine sea salt to bring out the natural sweetness and balance in your peanut butter. If the texture feels too thick, just stir in a small amount of neutral oil to smooth it out without changing the flavor. Start with less, taste it, and adjust until it’s just right for you.
Sea Salt Flavor Balance
You’ll often find that a pinch of fine sea salt elevates the natural sweetness and richness of your homemade peanut butter. Start with about 1/4 teaspoon of sea salt per 2 cups of roasted peanuts and adjust to taste, especially after the mixture cools since flavors mellow.
Using fine sea salt guarantees even distribution, which is key when you’re not processing for long. Keep in mind how salt interacts with texture and flavor balance.
Add salt gradually to avoid over-salting and to find your preferred balance. Taste after cooling and reserve a little salt to add if needed. Remember, salt content affects sodium levels, so measure carefully.
This thoughtful approach to sea salt will perfectly enhance your peanut butter’s flavor.
Optional Oil Benefits
Incorporating a small amount of neutral oil can transform your peanut butter’s texture, making it smoother and creamier without relying on a food processor. Adding 1–2 teaspoons of peanut, vegetable, or light olive oil per cup of peanuts helps reduce blending time and prevents graininess when using alternatives like a blender or mortar and pestle.
Sea salt (¼–½ teaspoon) boosts flavor, balancing sweetness. If you want a richer spread, try a tablespoon of oil and refrigerate to firm it up. Skip oil and salt if you prefer a thicker, low-fat option with more roasting and mashing.
| Oil Amount | Effect on Texture | Notes |
|---|---|---|
| 0 tsp | Thick, coarse | Longer mashing, no oil added |
| 1-2 tsp | Smooth, creamy | Ideal without food processor |
| 1 tbsp | Very creamy, rich | Refrigerate for firmness |
| Sea salt ¼ tsp | Enhances sweetness | Adjust to taste |
| Sea salt ½ tsp | Balanced flavor | Avoid over-salting |
Mix in Chopped Peanuts for Crunchy Peanut Butter
For a satisfying crunch in your peanut butter, set aside about half a cup of roasted, skinless, unsalted peanuts before blending the main batch. Once the smooth base comes together using your preferred method, whether a mortar and pestle, rolling pin, or blender, fold in the chopped peanuts gently with a spatula. This step adds texture without overworking the butter.
To guarantee consistent crunch, aim for peanut pieces around 3–5 mm in size. Toasting the reserved peanuts a few extra minutes at 350°F (175°C) before chopping boosts their nutty aroma and flavor, enhancing the contrast.
Keep these tips in mind:
- Chop peanuts roughly by hand or pulse briefly in a blender to avoid too fine a texture
- Add chopped peanuts last and stir just until evenly mixed
- Avoid further blending to maintain the desired crunch
This technique lets your peanut butter come together with perfect texture and flavor.
Store Homemade Peanut Butter Safely and Properly
Always store your homemade peanut butter in a clean, airtight jar to keep it fresh longer. After making it, leave the jar open until the peanut butter has fully cooled to avoid condensation and spoilage. Once cooled, seal it tightly.
Peanuts naturally release their natural oils, which may separate over time. Be sure to stir the peanut butter well before each use and store the jar upright to prevent leaks.
If you prefer a firmer texture, refrigerate the jar; this will thicken the peanut butter and extend its shelf life to 2 to 3 months. You can keep it at room temperature in the pantry for about 2 to 3 weeks, but expect a runnier consistency.
Label your jar with the preparation date, and always discard it if you detect any off smells, mold, or an unusually dark color as these are signs of rancidity. Following these steps will help you enjoy your homemade peanut butter safely and deliciously.
Tips and Troubleshooting for Smooth Peanut Butter Without a Food Processor
Although making peanut butter without a food processor can be challenging, you can achieve a smooth texture by roasting your peanuts properly and blending in small batches. Roasting at 350°F for 10 minutes releases oils, making the nut easier to mash by hand or with a blender.
Roasting peanuts at 350°F for 10 minutes unlocks oils, making hand-mashing or blending easier for smooth peanut butter.
Use a high-powered blender with no more than 1–2 cups at a time, stopping often to scrape down the sides. Warm nuts speed up blending and protect your motor from strain.
Here are some tips to help you troubleshoot and perfect your peanut butter:
When using a mortar and pestle or rolling pin, grind small amounts and add a teaspoon of neutral oil or warm water if the mixture feels dry.
Reserve 1/4 cup of chopped roasted nuts for a crunchy texture and fold them in after achieving smoothness.
Store your peanut butter uncovered until cool, then refrigerate and stir before use to mix any separated oils.
Frequently Asked Questions
Can I Use Raw Peanuts Instead of Roasted Ones?
Yes, you can use raw peanuts as a raw substitution, but you’ll need to roast them first to get the best results. Roasting at about 350°F for 10 minutes releases oils and improves flavor, making your peanut butter smoother and less crumbly.
If you skip roasting, your peanut butter might turn out dry and grainy. So, always roast raw peanuts before making peanut butter without a food processor.
How Long Does Homemade Peanut Butter Stay Fresh?
Your homemade peanut butter’s shelf life depends on storage. If you keep it sealed in the pantry, it’ll stay fresh for about 2–3 weeks but might get runny. Refrigerating it extends the shelf life to 2–3 months and makes it firmer.
Since there are no stabilizers, expect oil separation. Just stir it before use. Always use clean utensils, and if it smells off or molds, toss it immediately.
Is It Possible to Make Peanut Butter Without Adding Oil?
Yes, you can make peanut butter without adding oil, settling the Oil Debate. By using warm, roasted, skinless peanuts, you’ll extract enough natural oils during grinding or blending.
This method keeps your peanut butter rich in healthy fats without extra calories from added oils. Just be patient as it takes longer to reach a smooth texture, and remember to stir if natural oil separates for the best consistency.
Can I Use This Method for Other Nuts?
You absolutely can use this method for alternative nuts! Did you know almonds need up to twice the processing time compared to peanuts because they have less surface oil?
When working with alternative nuts like almonds, cashews, or pecans, you might add a splash of neutral oil to get that creamy texture. Just roast lightly and blend.
Sunflower seeds and sesame also work great and require less time, making homemade nut butter super versatile and delicious!
What Are the Health Benefits of Homemade Peanut Butter?
You’ll love homemade peanut butter because it keeps nutrient retention high, preserving protein, healthy fats, fiber, and essential minerals like potassium, calcium, and iron. It delivers heart-healthy monounsaturated fats while avoiding added sugars and hydrogenated oils found in many store-bought versions.
Conclusion
You might think making peanut butter without a food processor is impossible, but surprise, it’s easier than you expect! By roasting, warming, and mashing peanuts by hand, you’ll create a delicious, creamy spread that’s truly homemade.
Plus, adding a pinch of salt or a drizzle of oil can transform texture and flavor. So, next time you’re out of gadgets, remember your hands are the best tool you’ve got for perfect peanut butter!