How to Use My Ninja Blender as a Food Processor
To use your Ninja blender as a food processor, lock the appropriate bowl and blade securely onto the motor base. Cut ingredients into 1–2 inch pieces and use Pulse mode in short bursts to chop precisely without overprocessing.
For dough or thick blends, switch to Spread mode with room-temperature ingredients and scrape sides often. Add liquids last to control texture and avoid clogs.
Proper setup, pulse control, and mode selection make your Ninja versatile. Explore more tips to master every recipe.
Set Up Your Ninja Blender for Food Processing
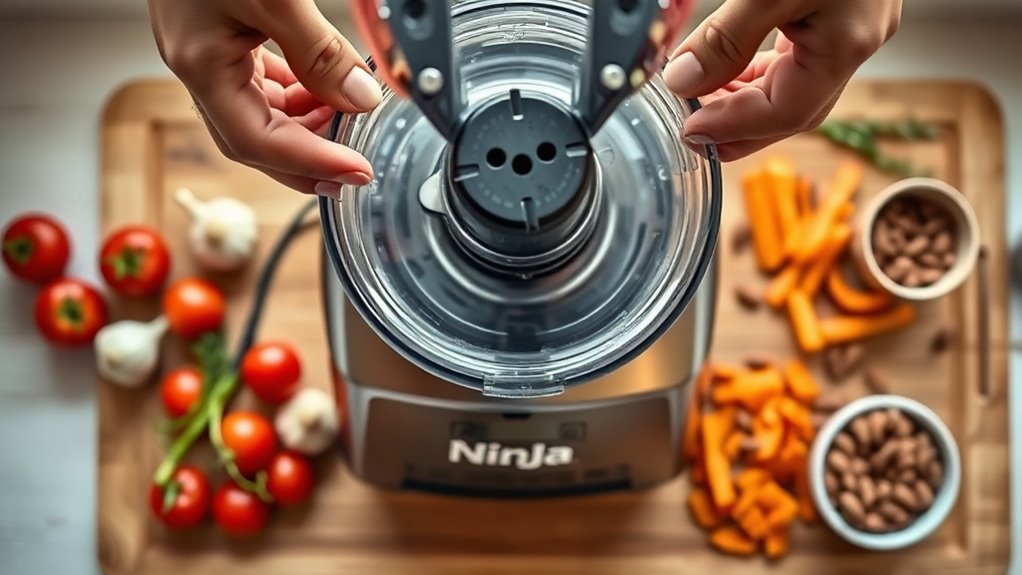
Start by placing your Ninja blender on a clean, flat surface and locking the pitcher or bowl onto the motor base until you hear a click. Make sure the blade assembly or chopping attachment is fully seated before powering on to assure safety and efficiency.
When using your Ninja as a food processor, avoid overfilling; add ingredients in batches without exceeding the max fill line marked on the jug. This prevents clogging and promotes even chopping.
To control the chop size, especially with nuts or making nut butters, use the Pulse function in short bursts. For smoother textures, switch to the Blend or Extract setting in 10–30 second intervals, pausing to scrape down the sides for uniform consistency.
After processing, unplug the unit, carefully remove the blade according to your model’s instructions, and clean the bowl and blades immediately to avoid residue buildup. Proper setup assures your Ninja food processor handles tasks efficiently every time.
Choose Ninja Blender Attachments for Food Processing
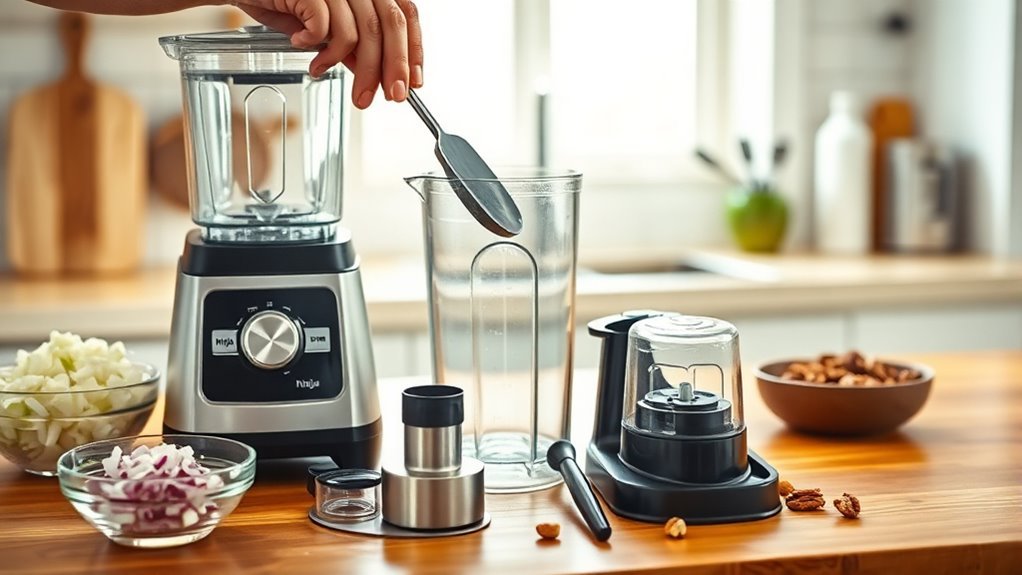
Select the right Ninja blender attachments to get the best results when food processing. Start with the Ninja food processor bowl, typically 8–9 cups, for chopping veggies, making salsa, or prepping dough.
Use the stainless-steel S-blade for chopping or pureeing tasks, and switch to the dough blade if you’re mixing dough. Make sure the blades lock securely into the bowl before attaching it to the motor base.
If you own a Ninja Blast, it works similarly but check for compatible attachments. For making nut butter, the S-blade handles grinding nuts smoothly.
Always stay below the max fill line to avoid overloading. Remember to cut larger ingredients into 1–2 inch pieces for even processing.
Secure the lid with the safety interlock engaged before blending. Clean your removable parts right after use—wash blades carefully by hand and place bowls and lids on the top rack of your dishwasher to keep everything sharp and efficient.
Use Pulse Mode to Chop and Mix Like a Pro
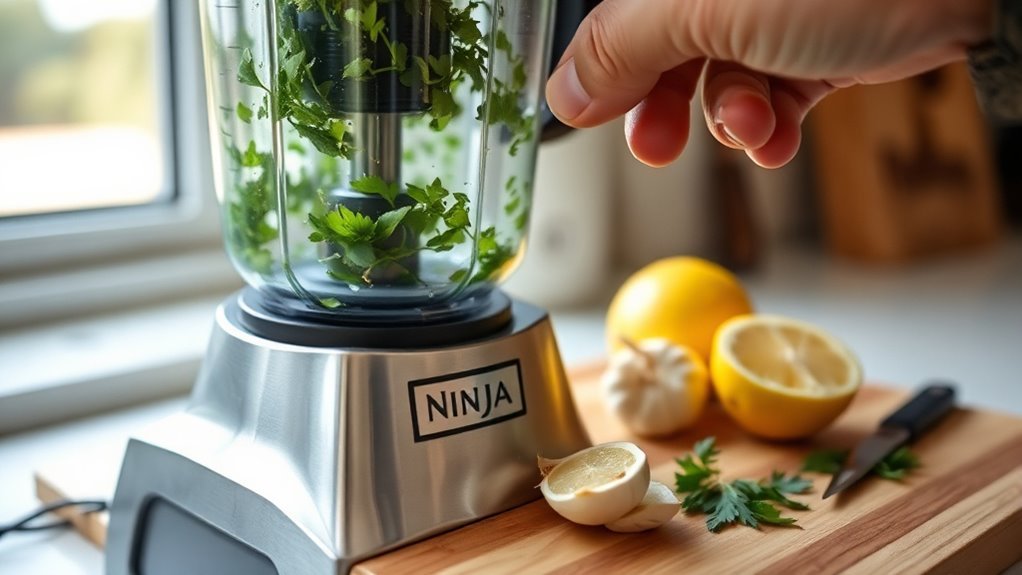
You’ll want to use Pulse mode in short bursts to chop and mix ingredients evenly without over-processing. Just keep your container no more than halfway full. It’s a good idea to check the texture frequently to get the perfect consistency.
Also, don’t forget to scrape down the sides now and then. You can adjust the number of pulses depending on whether you’re aiming for coarse or fine chops.
Pulse Mode Basics
When working with a Ninja Blender, using pulse mode gives you precise control over chopping and mixing by delivering short bursts of power. These usually last between half a second and two seconds. Simply add ingredients like nuts or even peanut butter, and pulse to achieve your desired texture without over-processing.
Remember to stop and scrape down the sides after every 5 to 10 pulses to make certain even chopping.
| Pulse Count | Texture | Example Use |
|---|---|---|
| 5–10 pulses | Coarse | Chopped nuts |
| 10–20 pulses | Medium | Salsa |
| 20+ pulses | Fine | Smooth peanut butter |
Cut large items into 1 to 2 inch pieces, avoid overfilling, and pulse in short bursts to protect your blender.
Chopping Techniques
Master chopping with your Ninja Blender by using short 1–2 second pulses to control texture and avoid overprocessing. Start with proper ingredient prep: cut veggies or nuts into 1–2 inch pieces, mimicking good knife skills to guarantee even chopping.
Work in small batches, not exceeding the max fill line, and alternate pulses while shaking the container to redistribute pieces for uniform results. For herbs or soft cheeses, use quick 3–5 short pulses to prevent bruising or paste formation.
Keep temperature control in mind. Avoid warming ingredients by limiting pulse duration and letting the blades rest briefly. Check every 5–10 pulses to maintain the desired texture, scraping down sides as needed.
Using the chopping blade and pulse mode, you’ll achieve consistent, professional-quality chopping every time.
Mixing Tips
Short pulses don’t just help with chopping. They’re also perfect for mixing ingredients without overworking them. When using your Ninja Blender in pulse mode, practice careful ingredient layering by adding liquids last to avoid turning mixtures like salsa or pesto into a puree.
Use 3–5 quick pulses to integrate wet and dry components smoothly. Keep an eye on temperature control by pausing to prevent overheating, especially during longer batch timing. If ingredients start clogging around the blades, stop and redistribute with a spatula before resuming short pulses.
For gentle folding, like mixing nuts into cookie dough, pulse just 2–3 times to incorporate without crushing. Mastering these mixing tips guarantees even texture and preserves the intended consistency every time.
Make Thick Recipes With Spread Mode
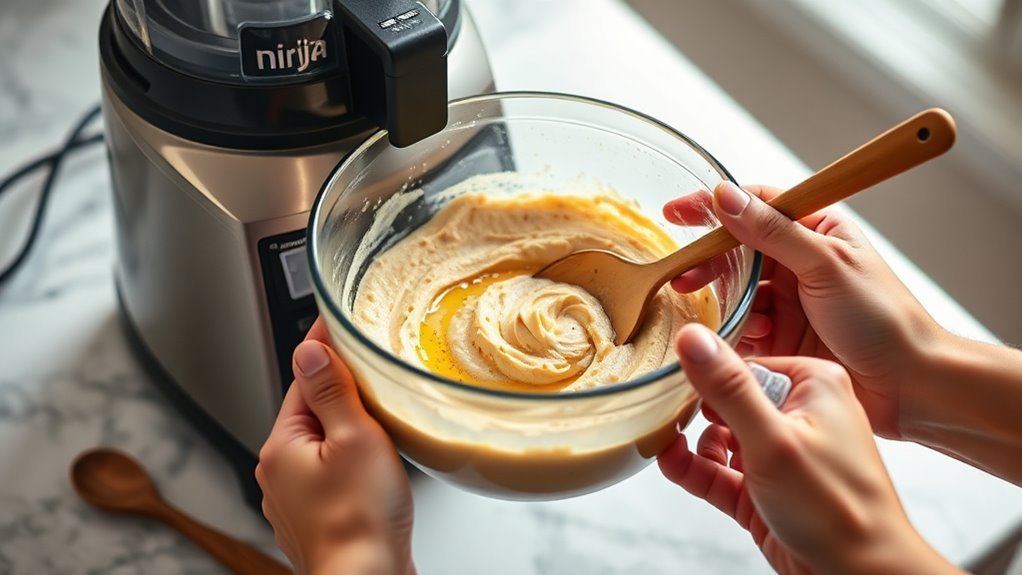
You can use Spread mode on your Ninja to make thick, scoopable recipes like hummus, nut butter, and dips without needing to add extra liquid. It works best when your ingredients are at room temperature and you’re working with small batches. This way, you get smooth, even textures every time.
If your mixture starts to clump up, no worries—just pause the machine, scrape down the sides, and pulse a few more times. That’ll help you achieve the perfect consistency. Easy, right?
Benefits Of Spread Mode
Creating thick, spoonable recipes like hummus, nut butter, and dense dips becomes effortless with the spread mode on your Ninja blender. This mode uses lower speed and higher torque effects to deliver precise texture control, preventing over-liquefying while achieving creamy consistency.
By managing ingredient ratios, keeping them below the max fill line and adding small amounts of liquid, you maintain the ideal thickness throughout blending. Torque effects help the blades work through tough, fibrous ingredients smoothly, especially after a quick pulse pre-chop.
You’ll want to stop and scrape every 20–30 seconds to avoid clumping and guarantee an even blend. Overall, spread mode gives you consistent, dense textures perfect for thick recipes, making your Ninja blender a versatile tool for more than just smoothies.
Ideal Thick Recipe Types
Spread mode releases a range of thick, creamy recipes that your Ninja blender handles with ease. It’s perfect for making nut butters, creamy dips, and even roasted chickpeas into smooth, dense textures.
Pre-pulse harder ingredients briefly, then run Spread mode for 30 to 60 seconds to get the perfect consistency. Add liquids sparingly to keep thickness ideal.
| Recipe Type | Key Ingredients | Tips |
|---|---|---|
| Nut Butters | Roasted nuts | Pre-pulse to break down nuts |
| Creamy Dips | Chickpeas, olive oil | Add liquids gradually |
| Roasted Chickpeas | Spices, minimal oil | Process in small batches |
| Thick Spreads | Beans, aquafaba | Scrape sides between cycles |
This approach guarantees dense, creamy blends every time.
Tips For Smooth Texture
Achieving a perfectly smooth texture often requires a few simple techniques when working with your Ninja blender’s Spread mode. First, start slow by pulsing or blending at low speed for 10 to 15 seconds to break down large chunks.
For nut butters, soak nuts for 4 to 8 hours to soften them. This eases blending and reduces graininess. When using Spread mode, blend in 20 to 40 second bursts, pausing frequently to scrape sides and push the mixture toward the blades.
This prevents clumping and promotes even blending. Keep ingredients below the max fill line, and add small amounts of oil or liquid only if needed to avoid overheating and get your desired thickness. Following these steps guarantees dense, creamy, scoopable textures every time.
Create Smooth Sauces With Blend and Extract Modes
How do you get perfectly smooth sauces using your Ninja Blender? Start by mastering ingredient sequencing. Always add liquids first, then solids. This helps prevent air pockets and guarantees smooth circulation through the blades.
Master ingredient sequencing: pour liquids first, then solids for smooth, air-pocket-free blending with your Ninja Blender.
For silky sauces, use the Blend mode to liquefy ingredients fully until the sauce reaches a pourable consistency. If you need maximum power, switch to Extract mode. It pulverizes fibrous ingredients like roasted peppers or cooked tomatoes into a fine texture, ideal for hot or cold sauces.
Maintain sauce viscosity by beginning with a 1:1 to 2:1 liquid-to-solid ratio. If your sauce is too thick, add warm liquids such as stock or olive oil in small increments while blending. Temperature control matters too; warm liquids help achieve the right flow without overheating.
You can alternate short Pulse bursts with Blend or Extract for chunkier-to-smooth control. This method lets you customize texture efficiently and create flawless, smooth sauces every time.
Avoid Overprocessing When Combining Ingredients
Although it’s tempting to blend continuously for speed, using short pulses of 1 to 2 seconds helps you combine ingredients without losing texture. Pulse 5 to 10 times, then stop and check the consistency to maintain texture control.
Start by adding wet ingredients gradually, about 10 to 20% of the total liquid. This helps avoid creating a puree too soon. Proper ingredient sequencing plays a big role here; adding liquids last allows you to manage the blend better.
Don’t overfill the pitcher. Leave 1 to 2 inches of headspace so ingredients can move freely and blend evenly. For chunkier results, work in small batches of 2 to 3 cups and scrape down the sides between pulses.
Use sensory testing frequently by stopping at intervals to assess texture and prevent overprocessing. This approach makes certain you get the right consistency without sacrificing the integrity of your ingredients.
Clean and Maintain Your Ninja Blender Food Processor
Keeping your Ninja blender clean after each use not only preserves the quality of your blends but also extends the life of your appliance. Start by disassembling the pitcher, blades, lids, and seals, then wash them with warm soapy water or place them on the dishwasher’s top rack following the manual.
For stubborn food, run a quick blend cycle with soapy water inside the pitcher, then rinse and air-dry. Wipe the motor base with a damp cloth and clean around the blade socket with a brush to prevent buildup and motor strain.
Conduct regular inspections of rubber seals and gaskets to catch cracks or wear early; replace damaged parts to avoid leaks. For odor prevention, make sure all parts dry completely before reassembling.
Store blades safely in their original covers or a protective case to maintain sharpness and avoid injury. These steps will keep your Ninja blender performing at peak efficiency and odor-free for food processing tasks.
Troubleshoot Common Food Processing Issues With Your Ninja Blender
When ingredients aren’t chopping evenly, try pulsing in short 1 to 2 second bursts while using the tamper or a spatula to redistribute the contents. Keep the ingredients below the max fill line to guarantee smooth processing.
For sticky mixtures like nut butters, use Spread mode or alternate Blend and Pulse, adding a bit of neutral oil per cup to ease motor strain. Always check that safety locks engage properly before use to avoid jams.
If the blade assembly jams or won’t seal, unplug the unit, remove the pitcher, clear obstructions, and reseat the blade collar and gasket until it clicks. To reduce noise, blend in short intervals and allow 2 to 5 minutes for cool-down during heavy jobs.
For fibrous foods, add a splash of liquid and use the Extract or Blend modes with scraping between cycles. Finally, practice good ingredient layering by adding liquids first, then solids, for even chopping and smoother results.
Frequently Asked Questions
Can I Use My Ninja Blender for Dough Kneading?
You can use your Ninja blender for light dough kneading, focusing on small batches with proper dough hydration. Use short pulses to avoid overworking the motor and make certain even mixing by scraping the sides between pulses.
Stop as soon as the dough comes together to protect the kneading technique and prevent gluten overdevelopment. Remember to observe resting times and avoid continuous blending to keep your motor cool and your dough texture ideal.
What Ingredients Should I Avoid Processing in My Ninja Blender?
You should avoid processing very hard ingredients like whole bones and fibrous items such as large celery stalks or raw potato chunks in your Ninja blender. These can damage the blades or clog the unit.
Also, don’t overfill with hot liquids since steam pressure can force the lid off or cause leaks. Stick to softer, smaller pieces and pulse when needed to protect your blender and keep it running smoothly.
How Do I Prevent My Ninja Blender From Overheating?
You want to keep your Ninja blender cool, not overheated, so allow breaks between blends instead of running it nonstop. Monitor temperature closely. If the motor feels hot or shuts off, give it time to cool down.
Avoid overfilling the pitcher. Leaving space helps air circulate and reduces strain. Using pulse mode with thick mixtures and scraping down sides also prevents the blades from stalling.
This keeps your blender running smoothly and safely.
Can I Process Frozen Fruits Without Thawing Them First?
Yes, you can process frozen fruits without thawing them first by using proper thawing methods like short pulse bursts to avoid motor strain and uneven chunks. Maintain your blade regularly to make certain it stays sharp for smooth texture control.
Add a bit of liquid to help the blades move easily, and use pulse settings to break up large pieces before fully blending. This approach keeps your Ninja running efficiently and delivers the perfect consistency.
Is It Safe to Use Metal Utensils With Ninja Blender Parts?
You shouldn’t use metal utensils on Ninja blender parts to avoid surface scratches and damage that can affect blade maintenance. Metal can nick plastic, compromising seals and safety.
Only use metal tools on removable stainless-steel blades when powered off and detached. Avoid metal contact near magnets to prevent interference.
Stick to silicone or wooden utensils for stirring or scraping to keep your blender safe and working well without risking damage or injury.
Conclusion
Using your Ninja blender as a food processor is as easy as pie once you know the right attachments and modes to use. By mastering pulse, spread, blend, and extract settings, you’ll whip up delicious dishes quickly and effortlessly.
Just remember to avoid overprocessing and keep your blender clean for the best results. With a little practice, your Ninja will become your go-to kitchen helper, chopping and mixing like a pro every time.