
How to Make Pie Crust Without a Food Processor in 5 Easy Steps
To make pie crust without a food processor, start by measuring flour, salt, and sugar precisely.
Cut chilled butter into the flour using your fingertips or a pastry cutter until pea-sized crumbs form, keeping the butter cold.
Add ice-cold water tablespoon by tablespoon, mixing gently until the dough holds together.
Chill the dough wrapped in plastic for at least an hour before rolling it out on a floured surface.
Follow these easy steps for a flaky crust, and you’ll soon master the whole process.
Gather and Measure Your Pie Crust Ingredients Precisely

To make a perfect pie crust without a food processor, start by gathering and measuring your ingredients with care. Use 2 1/2 cups of all-purpose flour. Spoon it into your measuring cup and level it off, or better yet, weigh on a scale for precision.
Add 1 teaspoon salt and 1 tablespoon sugar to your flour. Mix them evenly for balanced flavor and tenderness. Cut the butter into 1/2-inch cubes. This size helps it blend well without melting too quickly.
Use 1 cup of unsalted butter, then chill these cubes in the freezer for 10 to 15 minutes to keep the fat cold. Keep all ingredients chilled, including your mixing bowl and tools, to prevent the butter from softening.
Prepare about 6 to 8 tablespoons of ice-cold water, adding it gradually as needed to bring the dough together. Measure precisely, keep ingredients chilled, and you’ll set the stage for a flaky, tender crust.
Cut Cold Butter Into Pie Crust Flour Without a Food Processor
Start by tossing your chilled butter cubes into the flour mixture, coating them evenly to keep the butter cold and create flaky layers. Use unsalted cold butter cut into pea-sized cubes, ideally frozen for 10 to 15 minutes beforehand to keep ingredients cold while you work.
Begin cutting in the butter using a pastry cutter, two forks, or your fingertips with quick pinching motions. Avoid overworking the dough or applying too much friction, which melts the butter and ruins flaky pockets.
Aim for a mixture that looks like coarse crumbs, with most butter pieces the size of peas and some smaller bits remaining. Leaving a few slightly larger butter chunks (up to 1/4 inch) helps create a flakier texture.
Stop cutting when you see these coarse crumbs with visible butter bits, signaling you’re ready for the next step. Keeping everything cold throughout guarantees your pie crust develops tender, flaky layers without melting or overmixing.
Add Ice-Cold Water to Form Pie Crust Dough Just Right
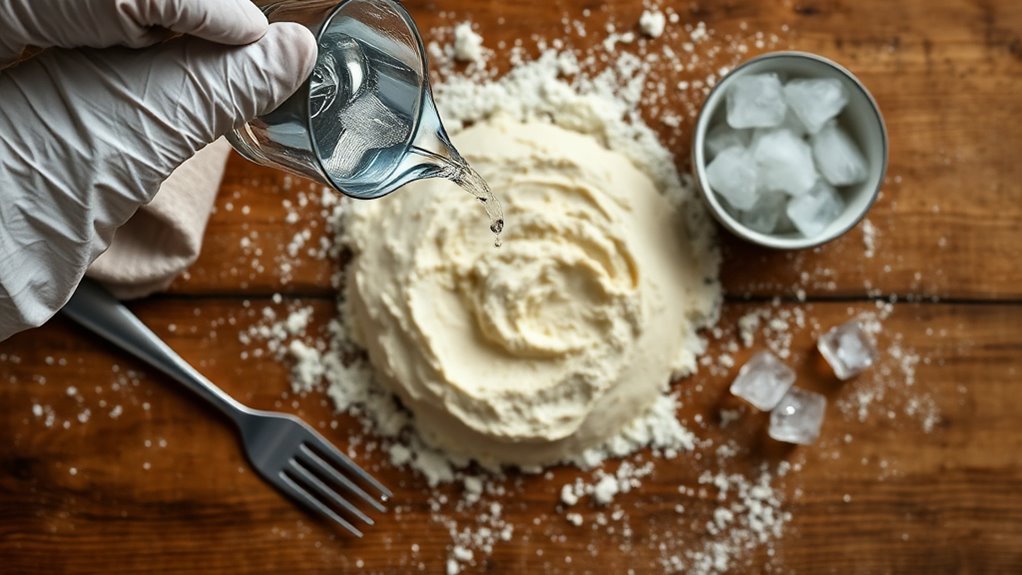
Once your flour and butter mixture resembles coarse crumbs with visible pea-sized butter pieces, it’s time to bring the dough together by adding ice-cold water. Keep the water on ice and add it one tablespoon at a time, gently stirring and pressing the dough with a fork or your hands after each addition.
Add ice-cold water gradually to your flour and butter mixture, gently combining to form a cohesive dough.
Distribute the water gradually around the bowl using a folding motion, and stop when the dough crumbs hold together. Usually, this takes 6 to 8 tablespoons total for two crusts. Be careful not to add too much water, as excess water leads to excess gluten, making the crust tough.
Under-hydrating leaves crumbly dough that won’t hold. Test for readiness by squeezing a small handful; it should cohere without feeling wet or sticky, still showing pea-sized butter pieces for flakiness.
If the dough becomes tacky or warm while adding water, chill the bowl for 10 to 15 minutes before continuing. Remember, do not overwork the flour to keep your crust tender and flaky.
Chill Pie Crust Dough Before Rolling and Shaping
Although it might be tempting to roll out your dough immediately, chilling it first is essential for a tender, flaky crust. After forming your dough discs with cold butter and ice water, wrap each tightly in plastic wrap and refrigerate.
This resting time, ideally at least 1 hour but a minimum of 30 minutes if you’re short on time, allows the dough to relax gluten and firm the butter. Firm butter pockets create those coveted flaky layers in your crust.
If the dough warms up while working, don’t hesitate to return it to the refrigerator for 10 to 30 minutes to cool down and maintain its structure. You can even freeze it briefly if needed.
Once chilled, let the dough sit 5 to 10 minutes at room temperature to make it easier to handle, but still cold enough to hold the butter’s texture. Proper chilling makes all the difference in achieving a perfectly flaky pie crust without a food processor.
Roll Out and Transfer Pie Crust Dough for Best Results
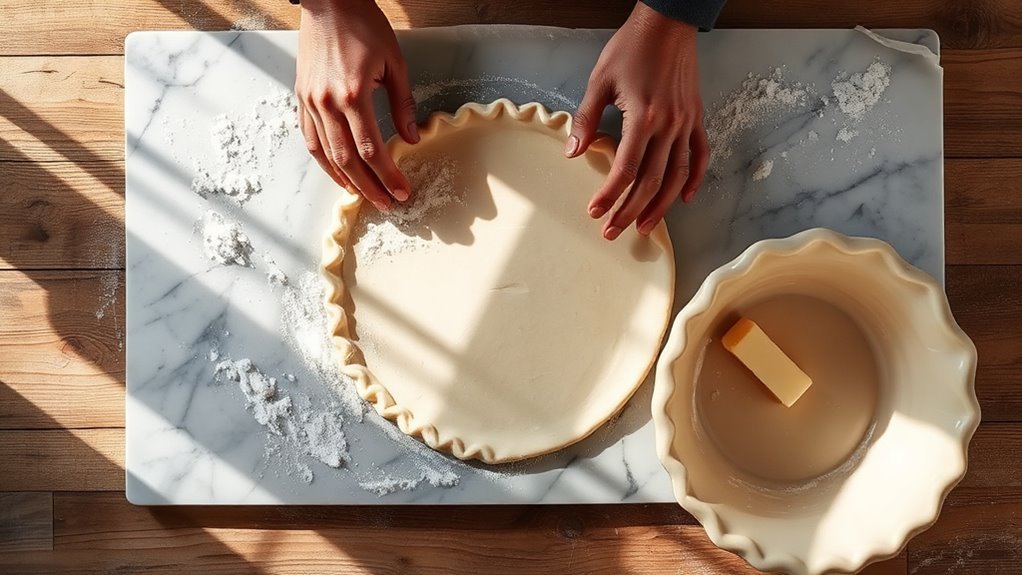
Allowing your chilled dough to soften for 5 to 10 minutes makes it pliable enough to roll out without cracking. Lightly flour a clean surface and rolling pin, then roll from the center outward to about 3 mm thickness, ensuring the dough is 3 to 4 inches wider than your 9-inch pie plate.
Let chilled dough soften briefly, then roll from center outward to a 3 mm thickness, wider than your pie plate.
To keep the dough from sticking, lift and rotate it frequently, adding only a dusting of flour so you don’t toughen the crust. When the dough comes together, carefully fold it into quarters or gently roll it around the rolling pin. Avoid stretching to transfer it to the pie plate.
Ease the dough into the pan without stretching, pressing lightly to eliminate air gaps. Trim the edges, leaving a 1-inch overhang, and fold that under to form a rim for crimping. If the dough softens too much, chill the lined pan briefly to firm up the cold butter.
Using parchment paper during rolling can help maintain your flaky crust’s integrity.
Frequently Asked Questions
Can I Use Salted Butter Instead of Unsalted in Pie Crust?
Yes, you can use salted butter in your pie crust, but watch the flavor balance carefully. Since salted butter adds salt, adjust other salted measurements or reduce added salt to avoid overpowering.
Salted butter might slightly affect texture differences, but blending it with a neutral fat or using browned butter can enhance flavor. For sweet fillings, be cautious of salt sensitivity.
When recipe scaling, keep water adjustment consistent to maintain dough consistency.
How Long Can Pie Crust Dough Be Stored in the Freezer?
You can store pie crust dough in the freezer for up to 3 months by using proper freezer storage techniques. Portion your dough and flash freeze it on a tray to prevent ice crystallization, then wrap tightly to avoid freezer odors.
Follow temperature guidelines below 0°F for long-term storage. When ready, thaw dough slowly in the fridge and avoid reheating methods that overwarm it. Proper thawing tips guarantee your crust stays flaky and fresh.
What Is the Best Flour Type for a Flaky Pie Crust?
You’ll find pastry flour is the best choice for a flaky pie crust because it has a moderate gluten content, giving you tenderness and flakiness. All-purpose flour works well too, but bread flour and high gluten flours make crusts tougher.
Cake flour is too soft, while whole wheat and spelt flour add nuttiness but can be denser. Bleached or unbleached flours both work fine.
For gluten-free options, use specialized gluten-free blends.
Can I Substitute Shortening for Butter in Pie Crust?
Yes, you can substitute shortening for butter in pie crust. Shortening benefits include a higher melting point, which helps create a flakier texture compared to butter’s richer flavor.
Keep in mind, shortening lacks butter’s taste, so flavor impact is less pronounced. Use the creaming method carefully, control dough temperature, and handle dough gently. Baking times stay similar.
For an alternative, lard substitution offers both flakiness and flavor. Also, consider health considerations when choosing fats.
How Do I Prevent My Pie Crust From Shrinking During Baking?
Back in the days of telegrams, preventing shrinkage was all about patience. You should focus on resting dough properly and chilling it wellingto keep hydration balance. Avoid overworking dough, so gluten doesn’t tighten.
Make sure your crust fits the pan snugly and crimp edges to hold shape. When blind baking, use pie weights to keep it flat. Also, bake at the right oven temperature; too hot can cause shrinking.
Conclusion
Now that you’ve mastered making pie crust without a food processor, you’ll see that patience and care truly pay off. After all, “slow and steady wins the race.”
By carefully measuring, cutting cold butter, adding icy water, chilling the dough, and rolling it out gently, you create a flaky, delicious crust every time.
Keep practicing these steps, and you’ll impress everyone with your homemade pie, proving that simple tools can yield amazing results.