How You Grate Cheese in a Food Processor
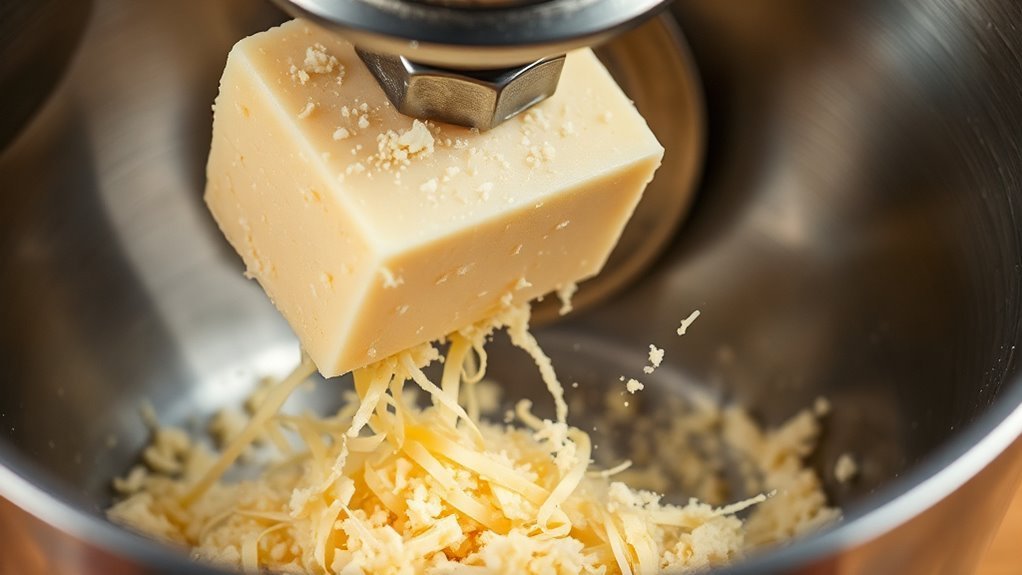
To grate cheese in a food processor, first chill the cheese for 20 to 30 minutes to firm it up.
Then cut it into 1 to 2 inch cubes.
Secure the shredding disc in place and work in small batches.
Pulse the processor in short 1 to 2 second bursts to get uniform shreds without mushiness.
Avoid overfilling and use the dedicated shred disc for the best results.
Keep the cheese cool and handle the parts carefully, and you’ll shred quickly and cleanly.
There’s plenty more to help you master the process.
Why Use a Food Processor to Shred Cheese?
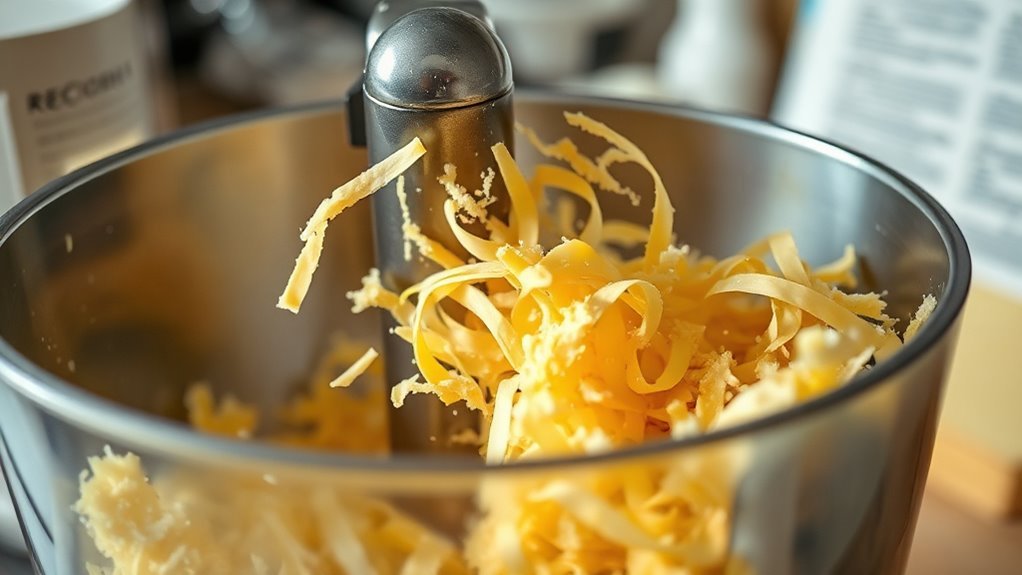
Using a food processor to shred cheese saves you a ton of time and effort. With the right shredding disc, you can shred a pound of semi-hard cheese like cheddar in under a minute, which is way quicker than hand-grating.
Plus, the food processor delivers more uniform shreds, typically about 2–4 mm thick. This helps your cheese melt evenly in dishes like casseroles and pizzas. To get the best results, chill the cheese for 20–30 minutes or lightly freeze it so it’s firm but not rock-hard.
This prevents smearing and clumping when you process it. Use short pulses and avoid overfilling the feed chute. Stop occasionally to shake the bowl, making sure all the cheese shreds evenly without clumping.
After shredding, clean the disc and bowl promptly. Soak them in warm soapy water to remove cheese residue and keep the blades sharp. Using a food processor makes shredding cheese fast, consistent, and hassle-free.
Choosing the Best Food Processor for Cheese Grating
When you’re picking out a food processor for grating cheese, look for models that have sharp shredding blades. You’ll want a motor that’s strong enough to handle hard cheeses without slowing down.
Also, think about the capacity. Do you usually grate a lot of cheese at once? If so, a large bowl might be best. But if you just need to process smaller amounts, a compact chopper could do the trick.
These features will make the whole grating process faster, easier, and way more consistent.
Types Of Blades
Choose a medium or coarse shredding disk with 3–5 mm holes to get uniform, non-mushy cheese strands instead of relying on the standard chopping S-blade. A stainless steel disc attachment with reversible sides offers versatile grate patterns. Use coarse for melting and fine for topping.
For harder cheeses, use a microplane-style grater to protect your processor and get the best texture. Proper blade maintenance guarantees longevity and sharpness, so clean and dry blades after each use.
| Blade Type | Best For | Notes |
|---|---|---|
| Medium Shredding Disk | Semi-soft cheeses | Uniform strands, easy to clean |
| Coarse Shredding Disk | Hard cheeses | Ideal for melting |
| Microplane Grater | Very hard cheeses | Fine texture, motor-friendly |
| S-blade | Not recommended | Compresses cheese, mushy |
| Reversible Disk | Versatile use | Shred or slice options |
Motor Power Importance
Grating cheese smoothly depends heavily on your food processor’s motor power. For hard cheeses like Parmesan, a motor with at least 600 to 700 watts keeps the blade spinning fast, preventing stalling and uneven shredding.
Softer cheeses need less power, but opting for 500 to 700 watts still speeds up shredding and reduces smearing. Choosing a model with thermal protection helps avoid thermal throttling, which can slow your motor during continuous use and preserves motor longevity.
Metal gears also enhance durability when grating frequently. Higher wattage motors (800 watts and up) handle tougher tasks and larger batches while maintaining performance. Plus, a well-designed motor reduces noise, making your kitchen experience more pleasant.
Matching motor power to your cheese type and batch size guarantees smooth, efficient grating without overheating or clogging.
Capacity And Size
Matching your food processor’s motor power with the right capacity and size helps you grate cheese more efficiently. For shredding multiple cups, a 7 to 10 cup bowl strikes the best balance, offering stable motor performance and enough space without overfilling.
If you usually shred small amounts, a 3 to 5 cup mini processor or an attachment might save space and cleanup time. Pay attention to bowl ergonomics. Handles that feel comfortable and a bowl transparency that lets you monitor progress without stopping improve ease of use.
Also, consider the countertop footprint since a compact model fits better in tight kitchens. Choose BPA-free plastic or stainless steel bowls with dishwasher-safe parts to handle sticky cheeses and streamline cleanup. These factors combine to make certain smooth, fast cheese grating every time.
How to Prepare Cheese and Your Processor for Shredding
Start by chilling your block of cheese for at least 30 minutes in the refrigerator, or 15 to 20 minutes in the freezer if it’s very soft. This helps it firm up and shred cleanly without smearing. Chilling is essential for preventing clumps and getting even shredding.
Next, cut the cheese into uniform 1- to 2-inch cubes or strips to fit easily into the food processor’s feed chute. Properly sized pieces let the shred disc work efficiently without overloading the motor.
Always use the dedicated shred disc attachment instead of the chopping blade. It produces consistent shreds and stops the cheese from turning into powder.
Work in small batches, around 1 to 2 cups, to avoid overwhelming the shred disc. If you’re shredding fresh cheese that’s a bit oily or moist, pat it dry with a paper towel before processing.
Preparing both your cheese and processor this way guarantees smooth, uniform results every time.
How to Grate Cheese in a Food Processor
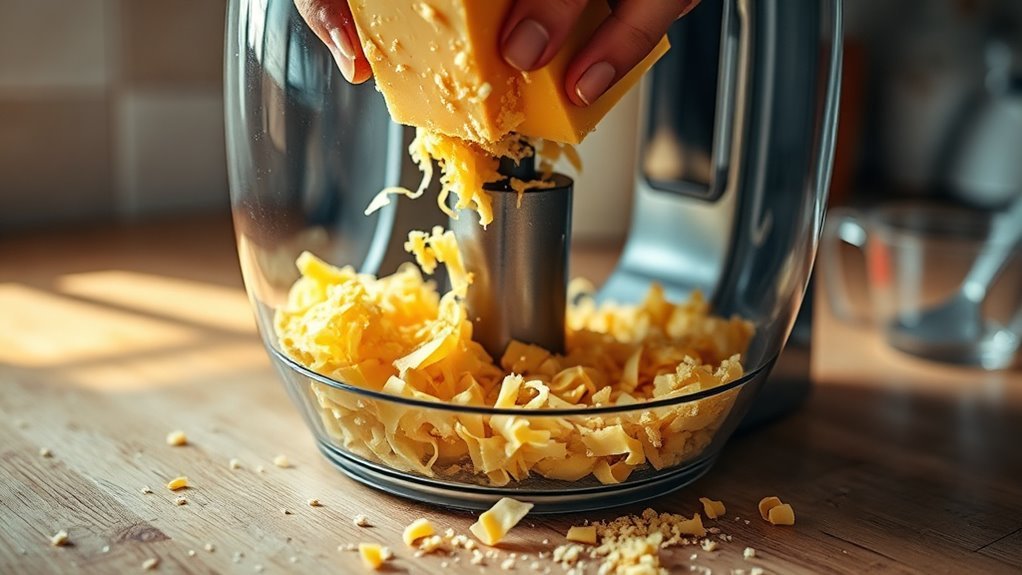
Secure the metal shredding disc in your food processor and lock the lid before adding cheese to assure safe, even grating. Start by chilling your cheese block in cold storage for 10 to 15 minutes. Firmer cheese shreds cleaner and reduces clumping.
Cut the cheese into 1 to 2 inch cubes that fit easily into the feed tube. This prevents jams and guarantees smooth processing. Pulse the processor in short bursts, about 3 to 6 times, to maintain control over shred size and prevent melting from motor heat.
This method helps with portion planning, letting you grate just the right amount for your recipe or cheese pairing. Remember, handling cheese properly here guarantees even grating and minimal waste. By following these steps, you’ll get evenly shredded cheese perfect for any dish, making your culinary prep efficient and precise.
Tips for Grating Different Types of Cheese
When grating different types of cheese, you’ll want to adjust your approach based on their texture and firmness. Use temperature tricks like chilling or briefly freezing hard cheeses such as Parmesan to firm them up, ensuring finer, less sticky shreds.
Adjust grating techniques by cheese texture; chill hard cheeses like Parmesan for finer, less sticky shreds.
For blade selection, pick the fine shredding disk for hard cheeses to get consistent texture and avoid clogging, while the coarse disk works best for semi-hard cheeses like cheddar or mozzarella. Always cut cheese into uniform 1–2 inch cubes that fit the feed tube to keep processing smooth.
Pulse in short bursts to control shred size and prevent overheating. For soft cheese handling, chill fresh cheeses like ricotta thoroughly and consider using a cold metal blade; processors can smear them, so sometimes a grater or knife works better.
These tips help you get perfect shreds for every cheese type without overworking your food processor.
How to Prevent Cheese Clumping When Grating
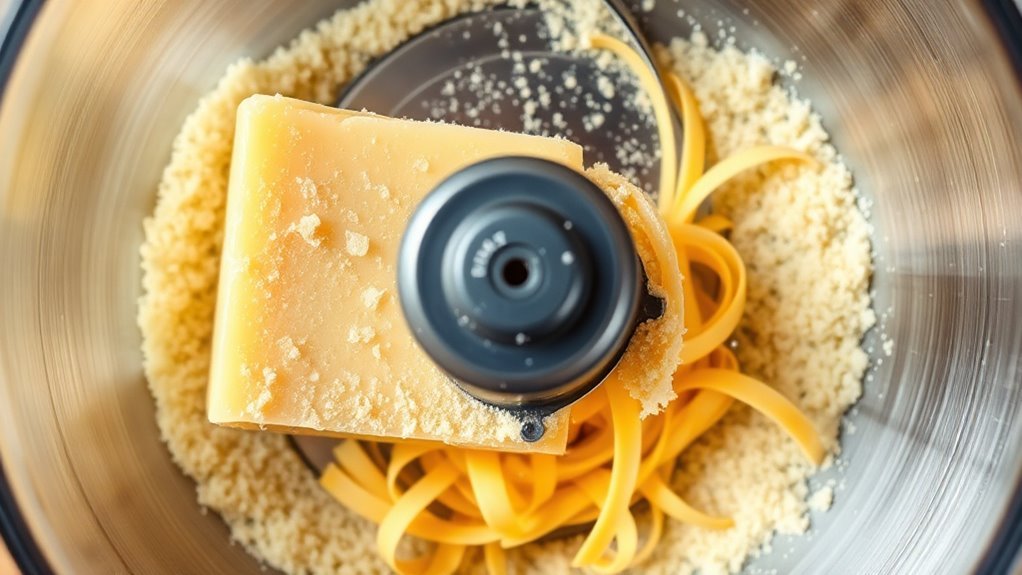
Preventing cheese clumping during grating guarantees your shreds stay light and easy to use. Start with cold handling by freezing the cheese for 15 to 30 minutes until firm but not rock-hard. This keeps moisture low and helps the cheese shred cleanly.
When preparing, toss the cut pieces with starch alternatives like cornstarch, about 1 to 2 teaspoons or 1 tablespoon per pound, to absorb surface moisture and reduce sticking. Pay attention to batch timing by pulsing the food processor in short 1 to 2 second bursts using the shredding disk, not the slicing blade.
Work in small batches of 4 to 6 ounces to avoid compacting the cheese and guarantee the shreds separate properly. After shredding, spread the cheese out on a tray to cool and air briefly before storing.
This approach, combined with a pinch of cornstarch or parchment in the storage container, minimizes clumping and keeps your grated cheese ready for immediate use.
Cleaning Your Food Processor After Grating Cheese
Right after grating, go ahead and rinse the removable parts under warm water. This helps stop the cheese from sticking and hardening. Then, take a soft brush to clear out any cheese stuck in the shredding disc before you wash everything.
When it’s time to clean, put the dishwasher-safe parts on the top rack. But make sure to always hand-wash the metal blade—this keeps it sharp and undamaged.
Removing Cheese Residue
Rinsing the bowl, lid, and shredding disc under warm running water right after grating stops cheese fats and proteins from hardening. This makes cleanup much easier. If residue sticks, soak parts in hot, soapy water for 10–15 minutes, then use a soft brush to dislodge trapped shreds.
For odor removal, wipe the motor base with antibacterial wipes dampened slightly with dish soap. Never submerge it. Thoroughly dry all parts before reassembling to prevent bacterial growth, especially if you plan to store cheese in cold storage later.
Applying a thin layer of cooking oil to the shredding disc helps reduce sticking during future use. This keeps your processor cleaner and your grating effortless.
Safe Dishwasher Practices
Always disassemble all removable parts like the bowl, lid, feed tube, and shredding disk before cleaning. This helps avoid bending blades and guarantees every surface gets cleaned thoroughly. Rinse stuck-on cheese with warm water (100–120°F) right away to prevent fats from hardening.
Most parts are top-rack dishwasher-safe, but check your manual to avoid warping plastics or dulling blades. Pay attention to dishwasher placement to keep delicate pieces secure.
Use a mild detergent choice to protect components. Select a gentle cycle temperature to prevent heat damage. Soak stubborn residue in warm soapy water before washing.
Avoid abrasive scrubbers on blades and feed tubes. Dry metal parts thoroughly to prevent rust and store safely.
Following these practices makes sure your food processor stays clean and lasts longer.
Comparing Food Processors and Manual Cheese Graters
While both food processors and manual cheese graters get the job done, you’ll notice significant differences in speed and consistency. Food processors shred cheese much faster and produce uniform pieces, but they’re noisier and need more cleanup.
Manual graters offer better handheld ergonomics and cost less upfront, but take longer and require more physical effort. Here’s a quick comparison:
| Feature | Food Processor | Manual Cheese Grater |
|---|---|---|
| Speed | Shreds 8–12 oz in under a minute | Takes several minutes |
| Handheld Ergonomics | Less ergonomic, bulky | Comfortable, easy to handle |
| Noise Levels | Noisy during operation | Quiet |
| Cost Comparison | Higher initial cost | Affordable, low cost |
Choosing depends on your needs. Go for a processor if you grate frequently and want speed. A manual grater works well for smaller, quick jobs without noise or complexity.
Alternative Ways to Shred Cheese Without a Food Processor
If you don’t have a food processor handy, there are several effective ways to shred cheese using common kitchen tools. You can rely on simple methods that still give you great results without extra gadgets.
Use a box grater at a slight angle for firm cheeses. For softer ones, briefly chilling or microwave softening helps.
Use a box grater angled for firm cheese; chill or microwave soft cheese briefly for easier shredding.
Create thin shreds with a sharp chef’s knife by slicing cheese into manageable slabs.
Make mandoline ribbons by running a vegetable peeler along the cheese edge. This is perfect for soft cheeses like mozzarella.
Try handheld zesters for finely grating hard cheeses or adding a delicate touch to dishes.
Freeze soft cheeses for 15–20 minutes before grating with a microplane or small-holed grater to avoid clumping.
These alternatives let you shred cheese quickly and neatly, even without a food processor.
Best Practices for Easy and Efficient Cheese Grating
You’ll find grating cheese quickly and smoothly becomes much easier when you use the right shredding disc designed for your food processor. Start by chilling the cheese for 20–30 minutes or partially freezing it for 10–15 minutes. This temperature control step prevents smearing and keeps the shredding efficient.
Cut the cheese into uniform 1–1.5 inch chunks that fit the feed tube to avoid jams. Feed the cheese through in short bursts, pulsing or running at medium speed. Don’t overload the bowl to maintain airflow and shredding quality.
After grating, consider seasoning tips by sprinkling salt or herbs on the shredded cheese to enhance flavor before storage. For storage solutions, keep the grated cheese in an airtight container in the fridge. Using parchment paper helps absorb moisture and prevent clumping.
Finally, clean the shredding disc and bowl immediately with warm, soapy water or place dishwasher-safe parts on the top rack. This will help avoid hardened residue buildup.
Frequently Asked Questions
Can I Grate Frozen Cheese in a Food Processor?
Yes, you can grate frozen cheese in a food processor if it’s not rock-hard. When cheese is too cold blocks, it risks damaging your blades and motor.
Partially freezing helps avoid a crystallized texture and moisture separation, giving you clean shreds. Just cut it into chunks, use the shredding disc, and pulse gently.
If your machine slows or overheats, let it rest or soften the cheese slightly before continuing.
How Long Does Grated Cheese Stay Fresh in the Fridge?
Grated cheese typically stays fresh in the fridge for 5 to 7 days, depending on storage duration and moisture control. You’ll want to store it in an airtight container or resealable bag to minimize moisture and prevent odor transfer from other foods.
Softer cheeses last closer to 3 to 5 days, while hard cheeses can sometimes last a bit longer. Always check for off smells or mold before using. And keep it as cold as possible to maximize freshness.
Can I Use a Food Processor to Grate Cheese for Salads?
Absolutely, you can use a food processor to grate cheese for salads. It’s a smooth way to add texture variations that complement cold dressings beautifully.
Just chill your cheese first to keep things tidy and avoid clumping. Working in small batches helps with portion control, ensuring you get consistent shreds every time.
This quick method lets you effortlessly enhance your salads with perfectly grated cheese, making your cold dressings even more delightful.
Is It Safe to Grate Cheese With a Dull Food Processor Blade?
It’s not ideal to grate cheese with a dull food processor blade because blade maintenance directly impacts safety concerns and texture outcomes. A dull blade requires more force, which can strain the motor and risk damage.
Plus, it creates uneven, clumped shreds instead of fluffy ones. To avoid these issues, regularly sharpen or replace your blades. This keeps you safe and guarantees your cheese has the best texture every time.
Can I Grate Flavored or Mixed Cheeses in a Food Processor?
Absolutely, you can grate flavored blends, herb-infused cheeses, and smoked varieties with your food processor. Just make sure the cheese is firm or well-chilled to avoid a messy situation.
Cutting blocks into uniform pieces helps keep things smooth, and pulsing occasionally prevents buildup from oily or aged types. Remember, a quick soak of the shredding disc after grating keeps your machine ready and your flavors pure for next time.
Conclusion
Using a food processor to grate cheese can save you up to 70% of the time compared to manual grating. With the right processor and preparation, you’ll get perfectly shredded cheese in seconds, whether it’s hard Parmesan or soft mozzarella.
Just remember to clean your machine thoroughly afterward to keep it running smoothly. By following these tips, you’ll make cheese prep faster, easier, and more enjoyable every time you cook.