How You Grind Coffee Beans in a Food Processor
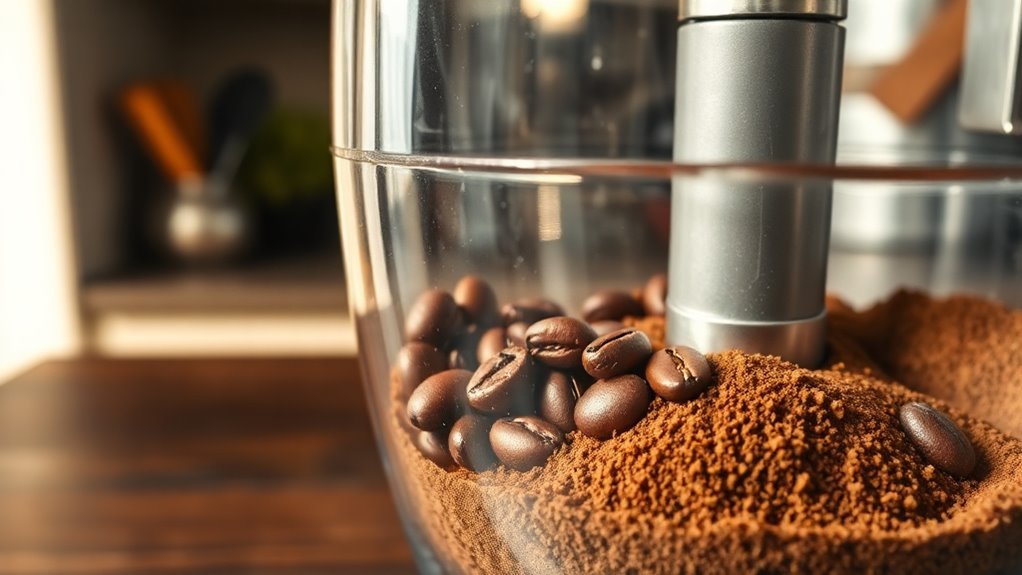
To grind coffee beans in a food processor, measure 1 to 1.5 cups of beans and make sure the bowl and blade are clean and dry.
Use short pulses of 1 to 2 seconds, shaking or stirring between bursts to keep grounds even.
Avoid long runs to prevent overheating and scrape the bowl as needed. This method produces a coarse to medium grind, perfect for batch brewing.
If you want to master the technique and avoid common pitfalls, there’s plenty more to explore.
Why Fresh Grinding Makes Better Coffee
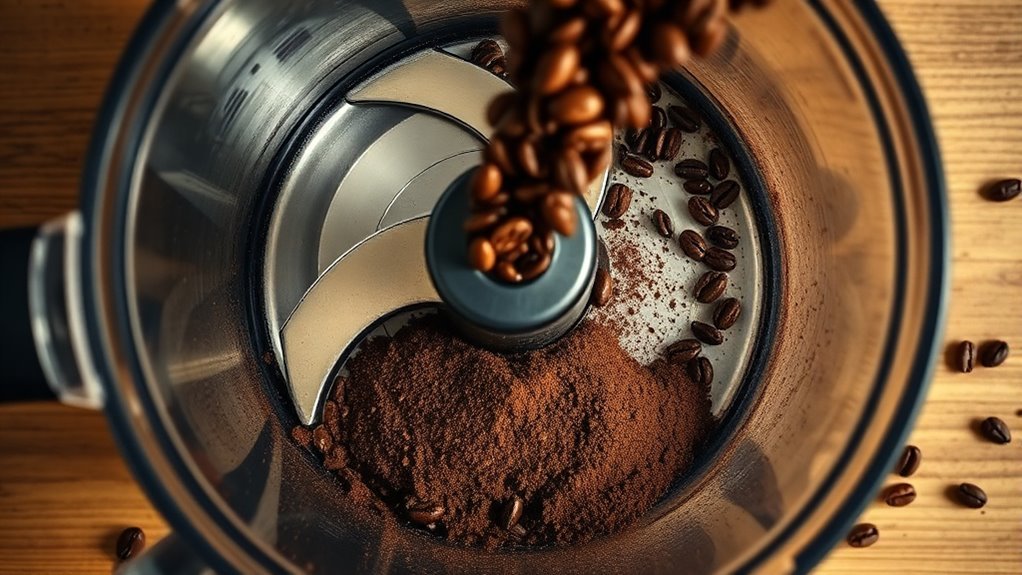
Freshly grinding your coffee beans just before brewing markedly enhances the flavor and aroma of your cup. When you grind beans fresh, you preserve volatile aroma compounds and oils that quickly start to oxidize once exposed to air.
Pre-ground coffee loses its peak freshness within hours, while freshly ground beans keep dissolved gases like CO2, which improve crema, bloom, and mouthfeel. Adjusting your grind size to match your brewing method matters a lot; coarse grind suits French press, medium fits drip coffee, and fine grind works best for espresso.
This precision prevents under- or over-extraction, allowing water to extract flavor compounds efficiently. Each freshly ground batch releases aromatic oils that give your coffee stronger, more complex flavors with higher perceived acidity and sweetness.
To get the best results, grind only the amount you need for immediate use, since ground coffee deteriorates much faster than whole beans, which stay fresh for weeks.
Food Processor Features for Coffee Grinding
Many food processors come equipped with features that make them a convenient option for grinding coffee beans at home. Their wide bowls and high-wattage motors allow you to grind larger batches than blenders, making the process efficient. However, you should manage grind consistency carefully, as food processors tend to produce uneven particle sizes compared to burr grinders.
Here are key food processor features for grinding coffee:
- Pulse Setting: Use short pulses (1–2 seconds) to avoid overheating the motor and burning coffee oils.
- Capacity: Process 1–1.5 cups of beans per batch for best control.
- Bean Redistribution: Stop and scrape or shake the bowl between pulses to reduce large chunks and fines.
- Grind Range: Expect coarse to medium-fine grinds, but plan to sift or re-process if you need a more uniform texture for sensitive brew methods.
These features help you optimize your food processor for grinding coffee efficiently and effectively.
Get Your Food Processor Ready for Coffee Grinding
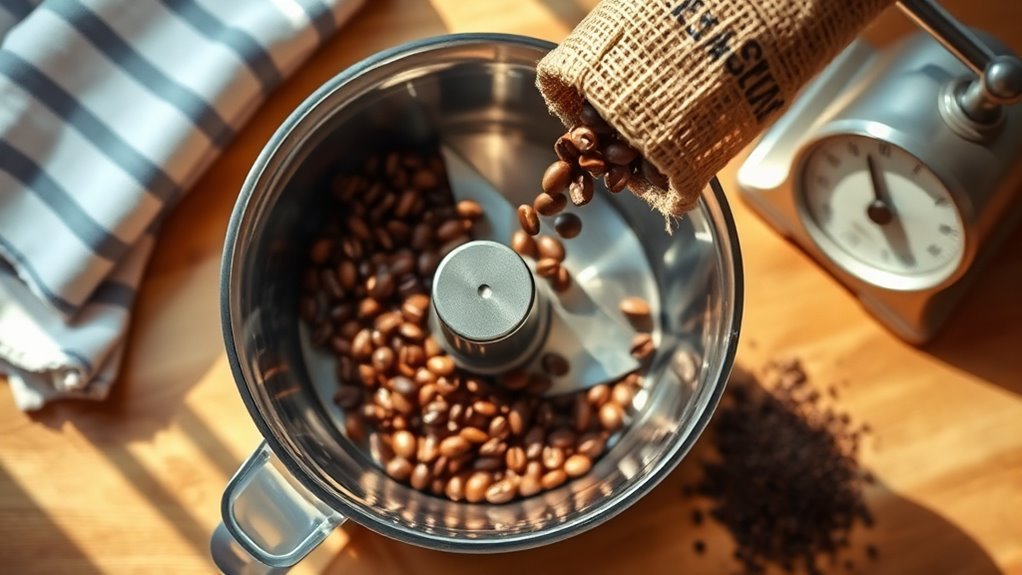
Prepare your food processor by guaranteeing the bowl and blade are completely dry and free from any lingering odors that could alter the coffee’s flavor. This step is essential when you grind every batch of coffee beans at home to maintain the pure taste of your brew.
Before adding beans, measure 1 to 1.5 cups per batch. Smaller amounts help achieve a more even grind and prevent overcrowding, which restricts movement. Make sure the processor is clean, as leftover food scents can taint the coffee grounds.
Using a dry, odor-free setup guarantees your coffee’s natural aroma shines through each time you grind. Taking these simple prep steps lets you make the most of your food processor’s capabilities and consistently enjoy fresh, flavorful coffee beans at home.
Once your processor is ready, you’re set to move on to the actual grinding process with confidence.
Step-by-Step Coffee Grinding With a Food Processor
Start by measuring your beans carefully and loading the food processor, but don’t overfill it. Then, use short pulses. It helps to shake the bowl between bursts so you get an even grind and avoid overheating.
You can adjust how many pulses you use depending on the grind size you want. Just remember to give the motor some breaks along the way to keep the flavors fresh.
Food Processor Setup
Load your food processor bowl with 1 to 1.5 cups (about 70–105 g) of whole coffee beans to guarantee proper circulation and an even grind. This amount helps the beans move freely during the grinding process, preventing uneven chopping and hotspots.
To set up your food processor for grinding coffee:
- Secure the lid tightly to avoid spills.
- Use the pulse setting in short 1–2 second bursts.
- After every 6–8 pulses, shake or stir the beans.
- Start with 10–12 seconds total pulsing for a coarse grind, then add more if needed.
This setup makes certain consistent results and helps you achieve the perfect coarse grind without overheating your machine.
Grinding Techniques Tips
Once you’ve set up your food processor with the right amount of beans and secured the lid, focus on pulsing in short bursts of 0.5 to 1 second. This helps you grind coffee beans evenly without overheating them.
Shake the bowl between pulses and tilt the processor slightly to scrape down the sides, ensuring all beans feed into the blades for a consistent grind. Aim for total active grinding of about 10 to 20 seconds, checking the texture often.
For a coarser grind, like for French press or cold brew, pulse fewer times to get chunks the size of sea salt. Longer pulsing creates a finer, sand-like consistency ideal for drip or pour-over.
Transfer the grounds immediately to preserve freshness and aroma.
Tips for Achieving Uniform Coffee Grounds

To get uniform coffee grounds, try pulsing small batches of beans in short bursts. Between pulses, give the bowl a good shake to prevent hotspots from forming.
Also, make sure to scrape down the sides regularly. This helps mix any uneven particles and stops clumps from building up.
And one more thing—use the pulse setting instead of running the processor continuously. This way, the beans won’t overheat and turn bitter. It really makes a difference!
Even Grinding Techniques
Getting an even grind starts by pulsing your food processor in short bursts, about one to two seconds at a time. Using the pulse setting helps you control the grind and prevent overheating, which can cause oily clumps and uneven particle sizes.
To achieve a uniform grind, follow these key techniques:
- Grind batches of 1 to 1.5 cups to keep the blades submerged for consistent grinding.
- Stop frequently to check the particle size, aiming for sand-like to coarse grains depending on your brew method.
- Scrape and redistribute grounds once or twice during the process to expose unground beans.
- Avoid long continuous runs; cool the bowl between sessions to prevent heat buildup and preserve flavor.
These steps guarantee your coffee grounds stay uniform and ready for brewing.
Pulse and Shake
Frequently, the best way to achieve uniform coffee grounds with a food processor is by pulsing in short bursts and shaking the bowl between cycles. Use 1–2 second pulses instead of running the processor continuously to prevent uneven grinding and overheating.
After every 6–8 pulses, stop and shake or tap the bowl vigorously for 3–5 seconds to redistribute the beans and expose unground ones to the blades. Aim for a total run time of 10–20 seconds, depending on whether you want a coarse to medium grind suitable for French press or drip coffee.
Between pulse cycles, scrape down the sides and stir with a spatula to break up clumps. This pulse and shake method helps you get consistent grounds without overprocessing.
Avoid Overheating Beans
Although food processors can quickly grind coffee beans, you’ll want to avoid overheating them to preserve flavor and aroma. Overheated beans lose essential oils, which impacts taste. To prevent this, pulse in short bursts and let the processor rest between pulses to keep the blade from getting too hot.
Follow these tips:
- Pulse in short bursts of 1–2 seconds with 10–15 second rests to keep the blades cool.
- Limit batches to 1/4–1/2 cup (30–60 g) to avoid prolonged motor use.
- Shake or tap the bowl and scrape the sides every 4–6 pulses to redistribute beans and reduce hot spots.
- Use the lowest speed or pulse setting rather than continuous high-speed runs to minimize heat generation.
Chilling beans or the bowl briefly can also help prevent overheating.
How to Adjust Grind Size Using Your Food Processor
Mastering your food processor’s pulse setting is key to adjusting grind size with precision. Unlike burr grinders that use two rotating abrasive surfaces for uniformity, your food processor relies on quick bursts to control particle size. Use short pulses lasting 1–2 seconds while processing 1–1.5 cups of beans to avoid overheating and maintain control.
Stop every 8–10 pulses to shake or stir the beans, redistributing them for a more even grind and preventing large chunks along the edges.
For a coarse grind, ideal for French press or cold brew, pulse about 10–15 times until the texture resembles sea salt. For medium to medium-fine grinds suited to drip, pour-over, or Aeropress, extend pulsing to 20–30 bursts aiming for a brown-sand consistency.
If you want a finer grind, try 30+ shorter pulses, but keep in mind that your food processor won’t match the uniformity of burr grinders and will yield varied particle sizes.
Keep Your Coffee Grounds Cool and Fresh
To keep your coffee grounds fresh, try not to overheat them. It’s best to pulse in short bursts and give your processor a little break to cool down between rounds. Once you’ve got your grounds, transfer them right away into an airtight container. This way, you’ll minimize their exposure to oxygen. Doing this helps preserve the flavor and stops your coffee from going stale too quickly.
Prevent Overheating Grounds
Always pulse your food processor in short bursts of 1–2 seconds with 10–15 second pauses. This keeps the coffee grounds cool and fresh. It also prevents the motor from heating the beans and transferring heat to the grounds, preserving flavor and aroma.
To prevent overheating:
- Pulse in short bursts with breaks to avoid continuous heat buildup.
- Grind small batches (about 1/4–1/2 cup) to minimize blade and bean mass heating.
- Shake or stir beans between pulses and scrape the bowl for even cooling.
- Cool the processor bowl and blade by running cold water over the exterior or letting it rest 1–2 minutes before the next batch.
Following these steps helps maintain fresh, flavorful grounds without bitterness or volatile oil loss.
Store In Airtight Containers
Proper storage in airtight containers preserves the freshness and flavor of your coffee grounds after grinding. Once your grounds cool to room temperature, immediately transfer them into an airtight container made of glass or stainless steel.
Choose containers with vacuum seals, one-way valves, or tight silicone gasket lids to limit oxygen exposure. Store the container in a cool, dark place like a cupboard or pantry shelf, away from heat and sunlight to prevent flavor loss.
Use grounds within 3–5 days for peak freshness, or up to 1–2 weeks if needed.
| Container Type | Benefits |
|---|---|
| Glass Airtight | Non-porous, easy to clean |
| Stainless Steel Airtight | Durable, protects from light |
| Vacuum Seal / Valve | Minimizes trapped air |
Minimize Exposure To Oxygen
You should grind only the amount of coffee you need for each brew, usually 1 to 2 tablespoons per cup. Ground coffee starts oxidizing immediately and loses its peak flavor within minutes to hours. To keep your coffee fresh, minimize exposure to oxygen by following these steps:
- Grind only the amount you need to avoid excess oxidation.
- Use short pulses (1 to 2 seconds) with pauses to reduce heat buildup and slow aroma loss.
- Cool the food processor bowl and beans briefly in the fridge or freezer before grinding to maintain freshness.
- Transfer grounds immediately into an airtight, opaque container, expelling as much air as possible to preserve oils and flavor.
Avoid leaving grounds exposed or in the processor bowl. This helps protect your coffee’s rich taste.
How to Clean Your Food Processor After Grinding Coffee
Because coffee oils can quickly turn rancid, you’ll want to rinse the food processor bowl and blade under warm water immediately after grinding to keep residue from sticking. When you grind coffee beans using this appliance, grinders typically leave behind oily films that can spoil future batches if not cleaned properly.
Rinse your food processor immediately after grinding coffee to prevent oily residue from spoiling future batches.
After rinsing, scrub the blade and crevices gently with a soft brush and a few drops of dish soap to remove stubborn oils. For tougher residue, wipe the interior with a paper towel soaked in white vinegar or lemon juice, then wash as usual.
To eliminate lingering aromas and fine particles, run the empty processor briefly with soft bread or rice, then discard the crumbs. Finally, let all parts air-dry completely or dry them with a clean towel before reassembling.
This thorough cleaning routine guarantees your food processor stays fresh and prevents stale flavors from contaminating your next coffee grind.
Comparing Food Processors to Other Coffee Grinders
When comparing food processors to dedicated coffee grinders, you’ll notice that food processors tend to produce less consistent grind sizes because of their high-speed blades and larger chambers. Unlike a burr coffee grinder, which delivers uniform particle sizes through conical or flat burrs, food processors produce a mix of fines and larger chunks. This inconsistency can affect extraction quality, especially for espresso.
Here’s how food processors stack up against other grinders:
- Food processors grind unevenly, while burr coffee grinders guarantee uniformity.
- Food processors work best for coarse to medium grinds; burr grinders handle all grind sizes precisely.
- Blade speed and bowl shape in food processors reduce control over grind distribution.
- Burr grinders minimize heat buildup better, preserving coffee flavor during grinding.
Knowing these differences helps you choose the right tool for your brewing method. Food processors fit casual or coarse grind needs, while burr grinders excel in precision.
When to Choose a Food Processor Over a Coffee Grinder
Although food processors don’t offer the precise grind consistency of burr grinders, they can be the better choice in certain situations. If you need to grind larger quantities, about 1 to 1.5 cups per batch, for cold brew or batch brewing, a food processor handles volume better than most small grinders.
It’s also ideal if you don’t own a dedicated coffee grinder but want a relatively even coarse to medium grind. Just pulse in short bursts and shake the beans between pulses to minimize large chunks and avoid overheating.
When speed and convenience matter, a food processor grinds faster than manual methods, letting you control grind size through pulse length. Plus, if portability, multi-function use, or budget constraints make buying a burr grinder impractical, a food processor is a solid alternative.
Just remember, it won’t match a burr grinder’s uniformity or fine grind quality needed for espresso or pour-over finesse.
Common Food Processor Coffee Grinding Mistakes
Avoid common pitfalls to get the best results when grinding coffee beans in your food processor. One major mistake is overfilling the food processor. Pouring in more than 1–1.5 cups restricts blade movement, causing uneven grind sizes.
Also, running the processor continuously can heat the beans, scorching oils and ruining flavor. Instead, use short pulses of 5–10 seconds, pausing to cool and keeping total run time under 30 seconds for a medium grind.
Forgetting to shake or scrape the bowl between pulses leaves some beans unground at the edges. So lift the lid and stir every 4–6 pulses for uniform texture.
Finally, remember that blade grinders create mixed particle sizes and aren’t ideal for espresso or fine pour-over. These methods need consistent grinds to avoid bitterness or sourness.
- Don’t overfill the food processor.
- Use short pulses of 5–10 seconds with breaks.
- Shake or scrape the bowl between pulses.
- Know the limitations of blade grinding for fine grinds.
Frequently Asked Questions
Can I Grind Other Spices in the Same Processor After Coffee?
Yes, you can grind other spices in the same processor after coffee, but be cautious of flavor contamination from coffee oils lingering on the blades and bowl. To prevent this, perform thorough residue cleaning by disassembling parts and washing with hot, soapy water.
For stubborn oils, grind rice or coarse salt, then clean again. If you grind spices frequently after coffee, consider dedicating a separate processor or blade to avoid cross-flavoring issues.
How Long Do Coffee Grounds Stay Fresh After Grinding?
You’ll find coffee grounds stay freshest for about 15 to 30 minutes after grinding, as flavor degradation starts quickly from oxidation and evaporation. To slow this, use airtight storage methods and keep grounds in a cool, dark place.
Even then, you should aim to use them within a day for good flavor. After 5 to 10 days, expect most specialty notes to fade, and beyond two weeks, grounds will taste stale and flat.
Does Altitude Affect Grinding Time in a Food Processor?
Altitude effects don’t directly change grinding time in your food processor, much like how a plane’s speed isn’t slowed by thinner air. However, just like pilots adjust instruments, you might need a slight burr adjustment. Use shorter pulses and more total pulses to handle denser high-altitude beans.
This prevents overheating and guarantees an even grind. So, if your grounds take longer, increase pulse count by 10–20% instead of grinding longer continuously.
Can I Use Pre-Ground Coffee to Test My Food Processor Settings?
Yes, you can use pre-ground coffee to test your food processor settings. Pre-ground comparisons help you understand how pulse timing affects grind uniformity without wasting whole beans.
Start with small amounts and short pulses, checking the texture frequently. This method lets you match grind size to your brew style.
Just remember, pre-ground coffee behaves differently than whole beans, so confirm your settings with a small batch of whole beans afterward.
What Safety Precautions Should I Take When Grinding Coffee Beans?
You should wear goggles since food processors can sometimes send beans or dust flying, protecting your eyes. Always make sure the processor sits on a steady base to prevent slipping or tipping.
Unplug it when adding or removing beans, and never put your hands or utensils inside while it’s running. Secure the lid tightly before pulsing, and use short bursts to avoid overheating. These steps keep you safe and your grind consistent.
Conclusion
Grinding coffee beans in a food processor might not match the precision of a dedicated grinder, but it offers surprising convenience and speed. While a burr grinder delivers uniform grounds ideal for brewing, your food processor steps in when you’re in a pinch or handling larger batches.
Though it’s less specialized, it still brings fresh flavor to your cup. So, don’t underestimate this versatile kitchen tool. It’s a quick fix that keeps your coffee moments fresh and flavorful.