Can You Use a Blender as a Food Processor?
Yes, you can use a blender as a food processor for many tasks like chopping, pureeing, or making nut butters. You’ll need to work in small batches and use short pulses to avoid overprocessing and motor strain.
Adding small amounts of liquid helps create a vortex for smoother blending, especially with dense ingredients. However, blenders can’t handle dough or precise slicing like food processors do.
Keep going and you’ll discover how to get the best results and care tips for your blender.
Blender vs. Food Processor: What’s the Difference?
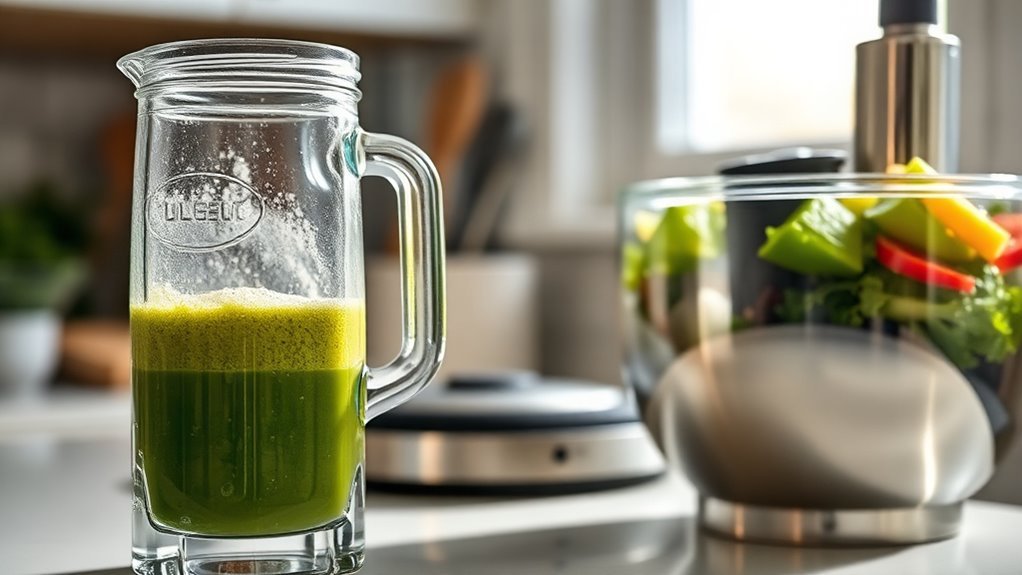
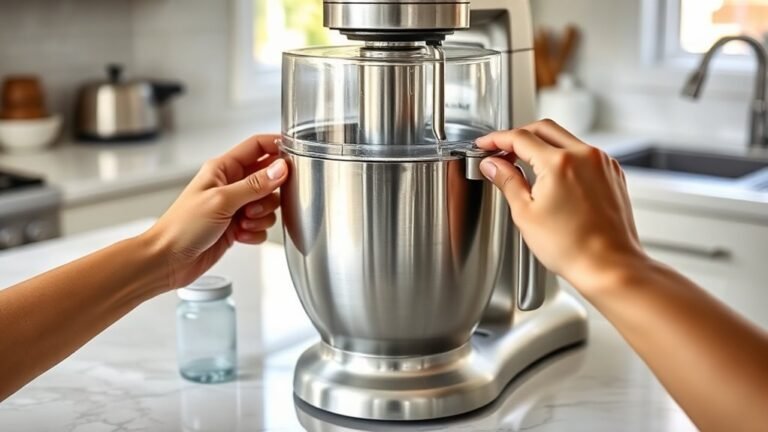
How do blenders and food processors differ in the kitchen? You’ll find that a food processor uses a wider bowl and low-speed, interchangeable blades and discs designed for chopping, slicing, shredding, and kneading. This makes it perfect for handling solid ingredients, like shredding cheese or slicing vegetables evenly.
Food processors feature wide bowls and versatile low-speed blades ideal for chopping, slicing, shredding, and kneading solid ingredients.
In contrast, blenders rely on high-speed blades in a narrow jar to create smooth, liquid textures such as soups and smoothies.
A food processor often comes with pulse control and multiple attachments, giving you precise texture control that blenders can’t match. While some high-powered blenders can mimic certain food processor tasks, they lack the wide feed opening and specialized discs for slicing or shredding.
Blenders excel at emulsifying and pureeing thanks to their blade speed and jar shape, but they struggle to chop bulky or dry ingredients evenly without extra liquid. So, when you need uniform chunks or dough, a food processor is usually your best bet.
How to Use Your Blender as a Food Processor
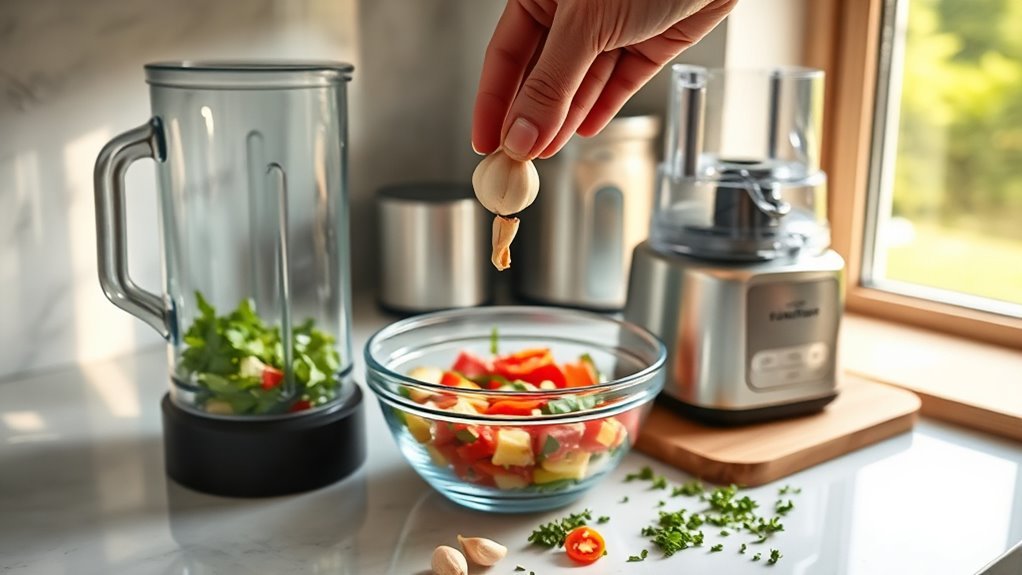
While blenders and food processors serve distinct purposes, you can still use your blender to handle many tasks typically reserved for a food processor. Start by filling the jar halfway with uniform ½–1 inch pieces to assure even chopping and prevent clumping.
Use short pulses (1–2 seconds) to mimic food processor chopping, avoiding overpureeing, especially with herbs or nuts. Gradually add liquids like oil through the lid’s feed tube for smooth textures without losing chunkiness.
Remember to clean immediately. Add warm water and dish soap, pulse briefly, then rinse to maintain blade care and protect seals. To reduce counter clutter, use your blender for multiple prep steps, a smart kitchen hack that saves space and time.
| Task | Tip | Result |
|---|---|---|
| Chopping herbs | Use pulse setting | Fresh texture |
| Mixing wet dips | Add liquids slowly | Perfect consistency |
| Cleaning | Clean immediately | Longer blade life |
Best Blender Settings for Food Processor Tasks

You’ll want to use pulse mode to control chopping and avoid overprocessing your ingredients. It gives you just the right amount of control without turning everything into mush. Plus, custom speed settings are great because you can easily adjust from coarse to fine textures depending on what you’re making. Once you get the hang of these controls, you’ll be able to use your blender just like a food processor and get the best results every time.
Pulse Mode Advantages
Because pulse mode delivers short, controlled bursts, it lets you mimic the coarse chopping action of a food processor without over-processing your ingredients. This setting helps you maintain texture for salsas, pesto, or nut chops by preventing purees.
Using pulse in 5–10 second intervals also supports safety precautions. You avoid overheating the motor and reduce blade wear. Plus, it naturally lowers noise levels compared to continuous blending, making your kitchen experience less disruptive.
Remember to stop occasionally and scrape the jar sides to guarantee even results and prevent food from trapping under the blades. Regular blade maintenance is essential, too; pulse mode’s brief bursts reduce dulling and extend sharpness, keeping your blender effective for food processor tasks longer.
Custom Speed Settings
Mastering custom speed settings lets you tailor your blender’s performance to match various food processor tasks. Begin with speed calibration by starting at a low speed (1–3) for delicate chopping like nuts or onions, then gradually increase to prevent overheating or turning ingredients to paste.
Use short pulses of 1–2 seconds to mimic coarse chopping, scraping the jar as needed. For shredding or slicing textures, set your blender between 6 and 10 on variable speeds, monitoring closely.
Torque management is key. Process small batches and pause between runs to avoid motor strain. Prioritizing user ergonomics, these adjustments provide control and precision, letting you achieve food processor-like results efficiently without damaging your blender or compromising texture.
Pulse Mode for Food Processing in a Blender
When you use the pulse mode on your blender, it delivers short, controlled bursts of power that mimic a food processor’s chopping action, helping you avoid over-processing ingredients. To get the best results, pulse in 1–2 second intervals and shake or scrape the container between pulses. This guarantees an even texture and prevents hotspots.
Keep batches small, no more than half the blender’s capacity, and cut ingredients into uniform 1/2–1-inch pieces for consistent chopping. Remember, container material matters; wider, shorter jars work better than tall, narrow pitchers, which tend to liquefy contents rather than chop.
Also, pulse mode reduces blade wear by limiting continuous motor strain, but don’t overdo it with tough tasks like thick dough or heavy shredding. Always check that your blender’s safety switches engage properly before pulsing to avoid accidents.
Using pulse mode thoughtfully lets you approximate food processor results without damaging your blender or compromising safety.
Adding Liquid and Handling Dense Ingredients

If you’re processing dense or dry ingredients in your blender, adding 2–4 tablespoons of liquid like oil, water, or stock helps create a vortex that keeps the motor from stalling. Managing liquid ratios is vital. Add small amounts incrementally, especially with thick mixtures like nut butters, to avoid a soupy texture.
Pay attention to ingredient layering by placing liquids at the bottom and dense solids on top. This helps the blades catch and blend efficiently. When handling very thick or stubborn ingredients, use tamper techniques if your blender includes a tamper. Gently push ingredients toward the blades without adding excess liquid.
If you don’t have a tamper, stop blending periodically to scrape down the sides for even processing. Keep the jar no more than two-thirds full to prevent overfilling. Work in small batches with short pulse bursts to avoid overheating. Following these tips guarantees better texture and protects your blender’s motor during dense ingredient processing.
Managing Small Batches and Texture Control
Processing small batches in your blender guarantees even texture and efficient blending, especially for amounts under one to two cups. To maintain batch consistency and avoid overprocessing, it’s best to work in small amounts rather than one large load. Chilled processing helps keep ingredients fresh and prevents overheating. Be mindful of ingredient sequencing to make certain everything blends evenly.
Follow these tips to manage small batches and control texture:
- Pulse in short bursts (1–2 seconds) and scrape the sides frequently to avoid pureeing.
- Add tiny amounts of liquid (1–2 teaspoons) gradually to help circulation without making it soupy.
- Use the pulse or low-speed setting for coarse chops, stopping when chunks remain visible.
- For finer pastes, blend continuously for 10–30 seconds, adjusting time based on ingredient softness.
Recipes That Work Well Using a Blender as a Food Processor
You’ll want to use pulse or low-to-medium speeds to keep control over texture when blending recipes like pesto, salsa, and nut butters. It helps prevent things from turning into a mushy mess. Certain dishes, like doughs or quick batters, also work well in a blender, but you’ll need to watch the timing carefully to avoid overprocessing. With just a few simple tips, you can get great results without needing those specialized food processor attachments.
Best Blender Settings
Mastering your blender’s pulse and speed settings lets you replicate many food processor tasks with ease. To get the best results, focus on speed gradations and blade maintenance, which also help with noise reduction. Here’s how you can optimize your blender:
- Use short pulses (1–2 seconds) on low speed to control chopping and prevent over-processing.
- Work in small batches and scrape down the sides after 10–15 pulses for even texture.
- Start low and gradually increase speed in bursts when making nut butters or pesto, avoiding runs longer than 30–60 seconds to protect the motor.
- Use a tamper or fork to push ingredients toward the blades and add liquid for smoother blends.
These tips help you mimic food processor functions while preserving your blender’s performance.
Suitable Recipe Types
Although a blender can’t replace every food processor task, it excels at making smooth sauces, purees, and emulsified dressings. You’ll find it perfect for whipping up smooth spreads like hummus, pesto, and nut butters with a silky texture in no time.
It’s also great for delicate garnishes. Finely chopped herbs or small amounts of onions and garlic can be pulsed quickly without turning into a paste. When preparing chilled desserts such as fruit sorbets or creamy smoothies, a blender’s high-speed blades provide the right consistency effortlessly.
Soft cooked vegetables and fruits for soups or baby food blend evenly, too. Just remember, blenders handle soft, moist ingredients best, so stick to recipes that benefit from smooth, uniform textures rather than coarse chopping or heavy doughs.
Tips For Texture Control
When aiming for the perfect texture using a blender as a food processor, controlling the blending time and speed is key. You’ll want to focus on grain size, ingredient layering, and temperature control to get the best results. Here are four tips to help:
- Use the pulse setting in short bursts to control grain size and avoid over-pureeing.
- Work in small batches, adding a splash of liquid or oil to aid ingredient layering and even blending.
- Stop every 5 to 10 seconds to scrape down the sides, ensuring consistent texture throughout.
- Soften or precook hard ingredients to ease motor strain and improve texture through temperature control.
What Blenders Can’t Do Like Food Processors
Because blenders rely on tall jars and central blades, they can’t handle tasks like shredding cheese or slicing vegetables as effectively as food processors. The jar geometry creates a vortex that pulls ingredients to the blades, but it lacks the precise blade alignment and wider surface area food processors have.
This design causes motor strain when chopping firm items or making dough, tasks that food processors handle with ease thanks to their higher torque and specialized attachments.
Here’s a quick comparison:
| Task | Blender Limitations | Food Processor Advantage |
|---|---|---|
| Shredding & Slicing | Uneven cuts, motor strain | Uniform slices, efficient |
| Dough Kneading | Not suitable, risks damage | Low-speed, strong paddle |
| Small Volume Tasks | Ingredients miss blades | Even chopping, quick results |
Understanding these limits helps you avoid overworking your blender and guarantees better results in the kitchen.
Tips to Extend Your Blender’s Lifespan When Food Processing
To keep your blender running strong, try not to overheat the motor by limiting continuous use to under a minute. It’s a good idea to let it rest between bursts. Instead of running it for a long time, use short pulse bursts — this helps reduce wear on the blades and bearings. And don’t forget to clean the blades right after you’re done; it prevents buildup and keeps everything working smoothly.
Avoid Overheating Blender Motor
You should regularly limit your blender’s continuous run time to 30 to 60 seconds to prevent the motor from overheating. Overheating can damage internal components and trigger thermal sensors that shut down the motor to protect it.
To keep your motor healthy and honor warranty considerations, follow these tips:
- Let the motor rest 1 to 3 minutes between uses. For thick mixtures, wait 10 to 15 minutes.
- Process small batches, no more than half the jar, to avoid motor strain.
- Use chilled ingredients to reduce viscosity and motor load.
- Check your manual for motor maintenance guidelines and duty-cycle specs.
Use Short Pulse Bursts
Regularly using short 1–2 second pulse bursts instead of running your blender continuously helps prevent overheating and keeps your food’s texture just right. These short bursts give your blender’s motor time to rest, reducing the risk of burnout and ensuring better motor care.
After every 10–15 pulses, pause for 30–60 seconds to allow cool downs. This keeps the motor temperature in check and extends its lifespan. Working in small batches also helps. Avoid filling the jar more than halfway to two-thirds full so blades chop evenly without overloading the motor.
If your ingredients are dry, add a splash of liquid to improve circulation and reduce blade strain. Always watch for heat buildup. Stop if the jar or blades get hot, then let them cool before continuing.
Clean Blades After Use
Always rinse the blades immediately after use with warm water to stop food from drying and sticking. This can make cleaning tougher and cause metal corrosion over time. Proper blade maintenance is key to extending your blender’s lifespan when using it as a food processor. Follow these steps:
- Use a soft brush and dish soap to gently clean around the blade base and check the gasket for cracks or wear.
- For stubborn residue, blend warm soapy water on low for 20–30 seconds, then rinse thoroughly.
- Disassemble and dry removable blade parts and gaskets completely to prevent mold and seal damage.
- Occasionally, apply sanitizing methods by blending water with vinegar or bleach to eliminate odors and bacteria.
Consistent care keeps your blender sharp and reliable.
Troubleshooting Common Blender Food Processing Issues
When blending ingredients for chopping or pureeing, short pulses prevent the motor from overheating and keep the texture consistent. If your blender struggles with uneven chopping, first check the blade alignment. Misaligned blades won’t chop efficiently and can strain the motor.
You might also need a gasket replacement if you notice leaks or reduced suction, which affects performance. Overheating or failure to start could signal capacitor failure, a common electrical issue that requires professional repair or replacement.
To avoid these problems, pulse in 1–2 second bursts and stop to scrape down the sides every 10–15 seconds. Also, avoid overfilling the jar past half its capacity. Work with uniformly sized ingredients for best results.
If your motor smells hot or the blender feels too warm, give it 10–15 minutes to cool down to prevent burnout. Following these tips can help you troubleshoot and maintain your blender when using it as a food processor.
Frequently Asked Questions
Can Using a Blender as a Food Processor Void Its Warranty?
Yes, using a blender as a food processor can void its warranty if it violates warranty limitations or misuse exclusions. If you use the blender beyond its intended purpose, like processing dense dough, manufacturers might deny service repairs.
To avoid this, you should check your model’s user manual and warranty terms carefully. Following recommended uses and settings helps keep your warranty valid, but using it improperly risks losing coverage and repair support.
Are There Specific Blender Brands Better Suited for Food Processing?
If your kitchen is a symphony, Vitamix alternatives play essential notes in food processing. You’ll find brands like Blendtec and Ninja offer countertop compatibility that suits chopping, shredding, and more.
Their blade versatility lets you switch between smooth blends and coarse cuts with ease. Look for models with pulse functions and variable speeds. They’ll give you better control, making your blender a versatile partner rather than just a one-trick tool.
How Do Noise Levels Compare Between Blenders and Food Processors?
You’ll find blenders generally louder than food processors due to higher motor strain and blade whine. While both can reach 85–100 dB, blenders often hit the upper range, making them sound twice as loud because of how sound measurement works on a logarithmic scale.
Food processors usually have better acoustic insulation and produce lower-frequency noise, which seems less piercing. To reduce noise, you can use rubber feet or towels for better sound dampening.
Can I Use a Blender to Knead Bread Dough?
Kneading bread dough in a blender is like trying to fit a square peg in a round hole. You can, but it’s not ideal. Blenders often struggle with dough consistency and lack the torque needed for proper gluten development.
Using a blender risks motor strain, especially on stiff dough. If you try, keep batches small, use low speeds, and pulse in short intervals to protect your motor and give gluten a chance to develop.
What Safety Precautions Should I Take When Blending Dense Ingredients?
When blending dense ingredients, always use gloves and goggles to protect yourself. Make sure you clean seals thoroughly before and after use to avoid leaks. Secure lids tightly to prevent splashing or lid ejection.
Start with the pulse technique, blending in short bursts to avoid overheating the motor. These precautions keep you safe and guarantee your blender works efficiently without damage.
Conclusion
So, can you really use a blender as a food processor? Absolutely! With the right settings, pulse mode, and a little liquid, your blender can tackle many food processing tasks.
Just remember, it’s not perfect for everything, like thick dough or large chunks. By knowing your blender’s limits and using these tips, you’ll save time and get creative in the kitchen without needing extra gadgets.
Why not give it a try today?