
How to Turn On KitchenAid Food Processor in 7 Easy Steps
Place your KitchenAid food processor on a stable, flat countertop away from edges and water.
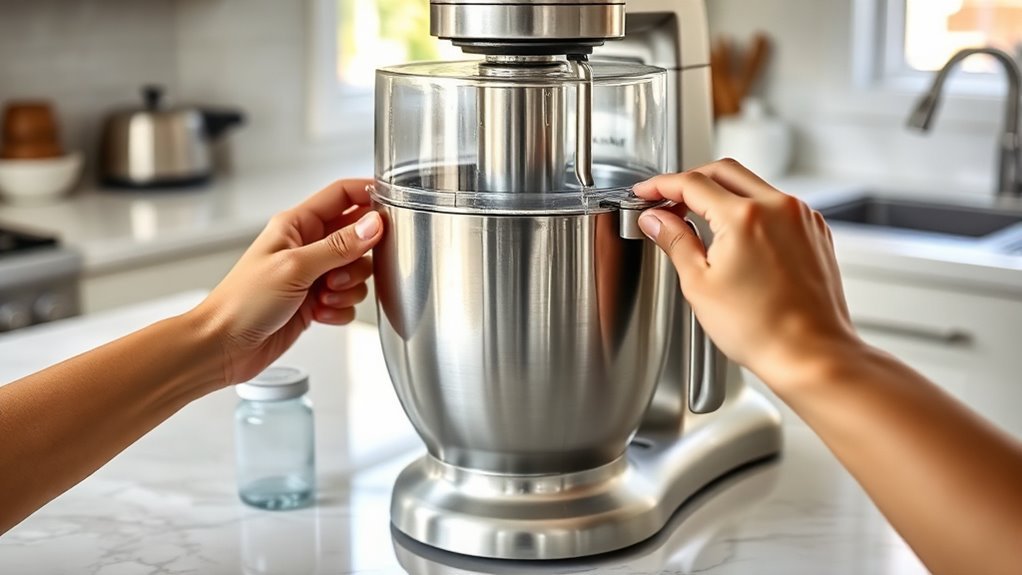
Align the bowl by matching tabs and locking it with a quarter turn, then secure the lid by snapping it in place with the feed tube properly aligned.
Plug it into a grounded outlet, ensuring the cord isn’t tight or hanging.
Insert your chosen blade, select the speed or pulse, and press start once everything clicks securely.
Follow these steps, and you’ll be ready to operate safely and efficiently while exploring more tips.
Place the Food Processor on a Stable Surface

Begin by placing your KitchenAid food processor on a flat, stable countertop at least 12 inches (30 cm) from the edge to prevent tipping. Make sure the countertop is clean and dry to avoid any slipping hazards.
Place your KitchenAid food processor on a clean, dry, and stable countertop at least 12 inches from the edge.
To enhance stability, use a non slip mat underneath the processor or rely on its built-in rubber feet for better grip. Pay attention to edge clearance. Not only should the unit be far from the countertop edge, but you should also leave at least 4–6 inches (10–15 cm) of space behind and above the processor.
This clearance guarantees proper ventilation and makes it easier to remove the lid safely. Avoid placing the processor near water sources or hot appliances like stoves and ovens to prevent electrical hazards and heat damage.
Finally, position the power cord so it’s not stretched tight or hanging near the edge where it could be accidentally pulled. Following these steps will keep your processor secure and ready for safe use.
Align and Secure the Bowl and Lid Properly
Once your food processor is securely placed on a stable surface, you’ll want to focus on properly aligning and securing the bowl and lid. Start by placing the bowl onto the base, lining up the bowl tab with the base slot, then rotate it clockwise about a quarter to half turn until you hear a click.
Before adding the lid, perform a quick gasket inspection to make certain the sealing ring is intact and properly seated, which helps prevent leaks. Next, align the lid’s safety tab with the bowl’s latch slot and lower it until it snaps into place.
Proper lid alignment is vital, as many KitchenAid models won’t power on unless the lid is securely engaged. Make sure the feed tube opening on the lid matches the bowl’s chute, and insert the pusher straight to avoid jams.
Finally, gently tug on the lid and bowl to confirm they’re locked in place; if either moves, reseat them until they click securely.
Plug In Your Food Processor
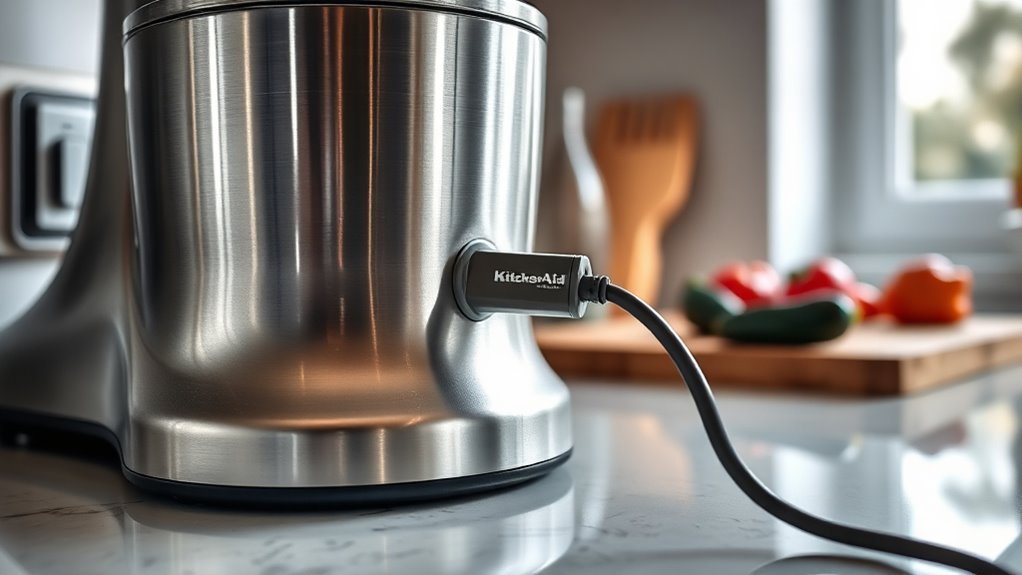
Before plugging in your KitchenAid food processor, make sure the power cord is fully unwrapped and straightened to prevent damage. Check the cord orientation carefully so it doesn’t twist or kink, and keep it clear of hot surfaces or water.
Next, verify outlet compatibility by plugging the power cord into a grounded 3-prong outlet rated for your unit, typically 120V, 60Hz in the US. If you’re using an extension or adapter, confirm it supports the processor’s amperage, usually between 6 and 12 amps, to avoid voltage drops that can affect performance.
For first-time use, plugging into a dedicated circuit is best. Avoid GFCI outlets, as their motor-sensitive trip function might prevent your processor from starting. If the processor doesn’t power on, try a different outlet to rule out outlet compatibility issues.
Correct cord orientation and ensuring proper outlet compatibility are key steps to safely powering your KitchenAid food processor.
Engage Safety Locks on the Bowl and Lid
After plugging in your KitchenAid food processor and ensuring proper power supply, the next step is to engage the safety locks on the bowl and lid. Start by seating the bowl on the base with the handle aligned to the locking notch. Twist it clockwise until you hear a click, confirming the bowl lock is engaged.
Plug in your KitchenAid, align the bowl handle with the notch, and twist clockwise until it clicks securely.
Next, place the feed tube lid onto the bowl, matching the alignment marks. Then press down and rotate if required until the lid locks securely. Make sure the pusher fits fully into the feed tube, as some models feature a safety interlock preventing operation if it’s missing.
Check that the motor base safety tabs and bowl-locking lever are fully down and unobstructed. Regular cleaning of hinges and locking points helps prevent debris buildup that could trigger the safety interlock and stop the processor from starting.
After locking, test the unit by selecting a low-speed or pulse setting. If it won’t run, reseat the bowl and lid, listening for clicks to ascertain proper engagement.
Choose and Install the Appropriate Blade
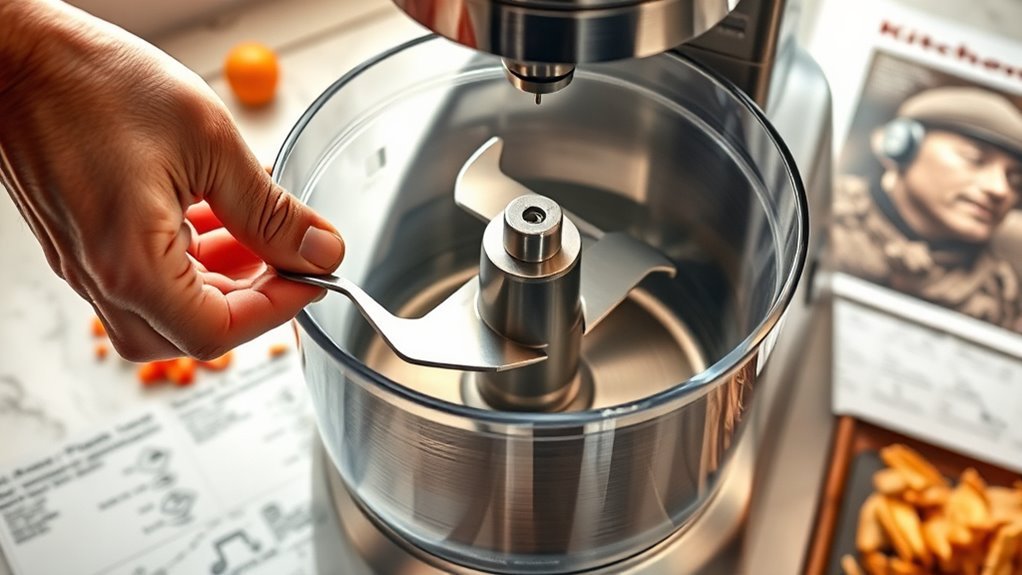
Select the appropriate blade for your KitchenAid food processor by matching your model number to the correct blade type, such as the multipurpose S-blade, shredding disk, or slicing disk. Proper blade selection guarantees peak performance and safety during use. Always unplug the unit before installing any blade to prevent accidents.
For blade installation, follow these steps:
Remove the lid and center the bowl on the motor base, aligning the drive shaft with the bowl’s hub. Hold the blade by the plastic hub—never touch the sharp edge—and slide it onto the drive shaft. For disks, place them on the stem and secure any retaining cap if applicable.
Check that the blade sits flush and spins freely by gently turning it by hand with the unit unplugged. Replace and lock the lid according to the indicators to engage the safety interlock.
Proper blade maintenance extends the life of your blades and keeps your food processor running smoothly.
Select the Food Processor Speed or Pulse Setting
Choose the right speed or pulse setting on your KitchenAid food processor to match the task at hand. Use Speed 1 for gentle mixing, perfect when you want to combine ingredients without overworking them.
Select Speed 1 on your KitchenAid for gentle mixing that combines ingredients without overworking them.
Speed 2 is ideal for faster chopping, shredding, or slicing, delivering consistent results especially when working with discs. The pulse technique gives you precise control by providing short bursts of power.
Press and release the Pulse button quickly to avoid over-processing delicate ingredients or when starting with large or uneven pieces, ensuring even texture. When handling dough or tougher foods, use Speed 2 in 2–3 second bursts, checking the texture between pulses to prevent motor strain.
Remember to select your speed or pulse setting only after the motor is engaged, with the lid locked and bowl seated, to guarantee safety and consistent outcomes every time you use your KitchenAid food processor.
Press Start and Monitor Operation
Plug in your KitchenAid food processor, make sure the bowl is locked in place, and the lid is securely latched before pressing the START button to begin. Apply light pressure on the lid if your model requires it; the motor won’t engage unless safety interlocks confirm proper assembly.
Once running, monitor the operation through the clear lid to check progress and make certain of even processing.
To optimize performance and make certain motor maintenance, keep these points in mind:
Use short run times (under 60 to 90 seconds) to prevent motor overheating. Stop periodically to scrape down the bowl sides for consistent texture. Turn off the motor before removing the lid to maintain safety. Clean the lid thoroughly after use to avoid residue buildup that might affect operation.
Frequently Asked Questions
How Do I Clean the Kitchenaid Food Processor After Use?
After using your KitchenAid food processor, start daily maintenance by unplugging it and disassembling all removable parts. Rinse blades and discs immediately with warm water to prevent food from drying, handling blades by the center hub for blade care.
Wash the bowl, lid, and plastic parts in warm soapy water or the dishwasher if safe. Wipe the motor base with a damp cloth, dry everything thoroughly, then reassemble and store blades safely to keep them sharp.
Can I Use the Food Processor for Hot Ingredients?
You can use your KitchenAid food processor for hot processing, but you need to watch temperature limits carefully. Most models aren’t built for ingredients above about 140–160°F (60–71°C).
If you’re working with hot soups or stews, cool them down first to avoid pressure buildup that can warp the lid or cause splatters. Always check your manual for your model’s heat resistance and vent steam safely while pulsing warm foods.
What Are the Warranty Terms for Kitchenaid Food Processors?
KitchenAid’s limited warranty lets you lean on lasting protection for defects in materials and workmanship, typically for one year from purchase. You’ll need proof of purchase and use it for normal household purposes.
While the limited warranty covers repairs or replacements, it excludes damage from misuse or wear. You can also consider extended protection plans for extra peace of mind, available through some retailers or regions when you register your processor.
How Do I Troubleshoot if the Food Processor Won’T Start?
If your food processor won’t start, first check the power connection to guarantee it’s plugged into a working outlet. Next, verify the safety interlocks: make sure the bowl and lid are securely locked, as the processor won’t run otherwise.
Also, inspect the control settings and clear any obstructions. If the motor overheated, let it cool before trying again. Finally, check the cord and switches for damage or faults.
Are There Any Accessories Compatible With My Kitchenaid Food Processor?
Think of your KitchenAid food processor as a versatile toolbox, ready to tackle any kitchen task. You’ve got plenty of attachment options, like reversible slicing/shredding discs and multipurpose S-blades, designed specifically for your model.
Make sure you choose compatible blades and accessories labeled for your KFP or KSM series to guarantee a perfect fit. Always check your model number before buying to keep your processor working smoothly and safely.
Conclusion
Now that you’ve got your KitchenAid food processor humming, you’re just moments away from culinary magic. With every secure twist and click, you’re unfastening endless kitchen possibilities.
Don’t underestimate the power of those simple steps. They’re your secret recipe for effortless food prep. So, go ahead, press start, and watch your ingredients transform.
Remember, great meals start with great tools, and you’ve just mastered yours!