
Can You Shred Cheese in a Food Processor in 5 Easy Steps?
Yes, you can shred cheese in a food processor in five easy steps. Start by chilling the cheese for about 15 to 30 minutes to firm it up. Cut it into 1 to 2 inch cubes to prevent jams.
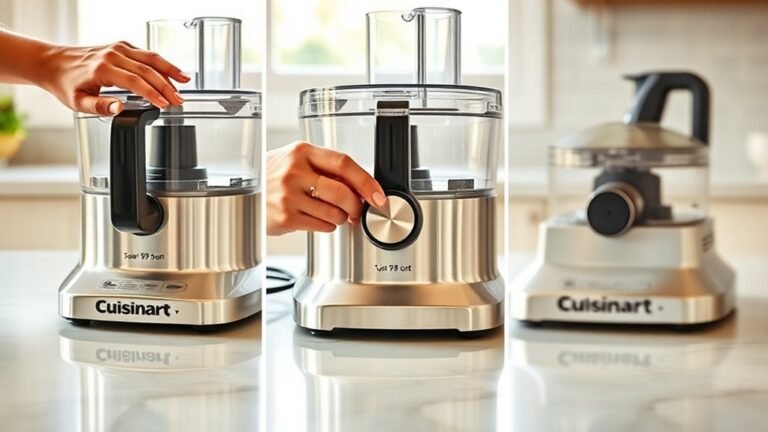
Attach the shredding disc, add 1 to 2 cup batches, and pulse in short bursts until shredded evenly. Cleanup is simple with warm soapy water right after.
Keep going to uncover tips for prepping, cleanup, and shredding other foods too!
Why Use a Food Processor for Cheese Shredding
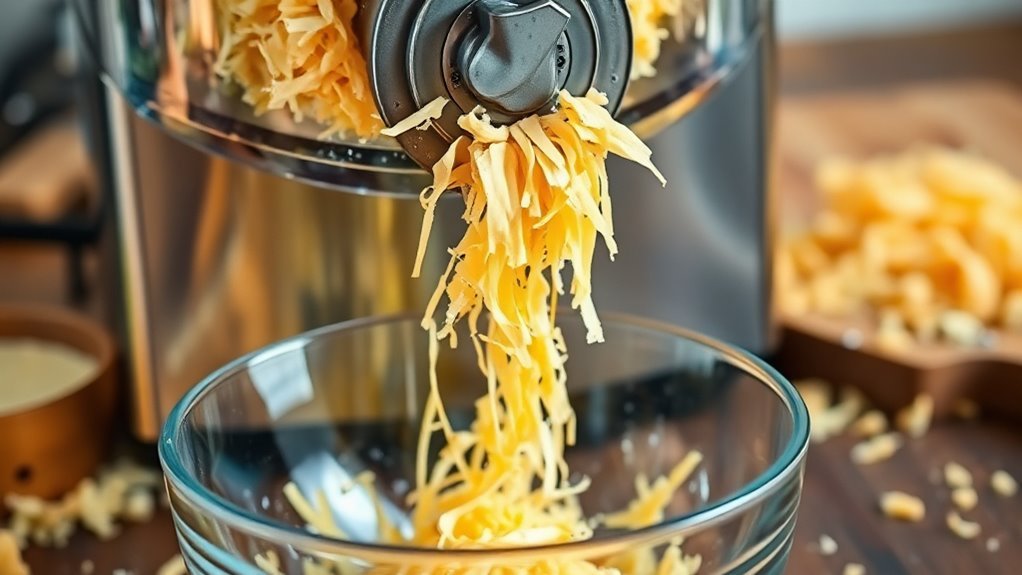
Although hand grating cheese can work, using a food processor saves you significant time by shredding an entire 8 to 16 oz block in under a minute. This time-saving benefit means you can prep cheese quickly for any recipe or gathering without the usual hand fatigue.
The shredding disc attachment guarantees you get a consistent texture every time, producing uniform, restaurant-style shreds that melt evenly. Many models even offer thickness options so you can tailor the shred size to your dish.
The shredding disc ensures consistent, uniform shreds with adjustable thickness for perfect texture and melt every time.
Plus, if you’re preparing cheese for a crowd, large-capacity bowls let you shred up to 1 to 2 pounds at once, cutting down multiple batches. To avoid clogging and keep shreds clean, just chill your cheese in the freezer for 10 to 15 minutes before processing.
Cleanup’s also hassle-free since most shredding discs and bowls are dishwasher-safe, but it’s best to disassemble right after use to prevent residue buildup. Overall, a food processor makes cheese shredding faster and more consistent than doing it by hand.
How to Prep Cheese for Even, Quick Shredding
To shred cheese evenly and quickly, start by chilling the block in the refrigerator for at least 30 minutes or in the freezer for 10 to 15 minutes to firm it up. Cold storage helps the cheese shred cleanly without clumping.
Next, cut the cheese into uniform cubes or slices. Aim for 1–1.5 inch cubes or ½–¾ inch thick slices. Cube uniformity guarantees the pieces feed evenly through your processor for consistent shredding.
Use a cold metal or plastic bowl and a metal shredding disc if available. Avoid overfilling; process no more than 2–3 cups at once for the best results.
| Step | Size Recommendation | Reason |
|---|---|---|
| Chill Cheese | 30 min fridge / 10–15 min freezer | Firms cheese for clean shred |
| Cut Cheese | 1–1.5 inch cubes / ½–¾ inch slices | Ensures cube uniformity |
| Bowl & Disc | Use cold metal/plastic bowl & metal disc | Prevents sticking |
| Batch Size | 2–3 cups max | Avoids uneven shredding |
| Dust Soft Cheese | 1–2 tsp cornstarch/flour per cup | Reduces clumping |
How to Shred Cheese in Your Food Processor
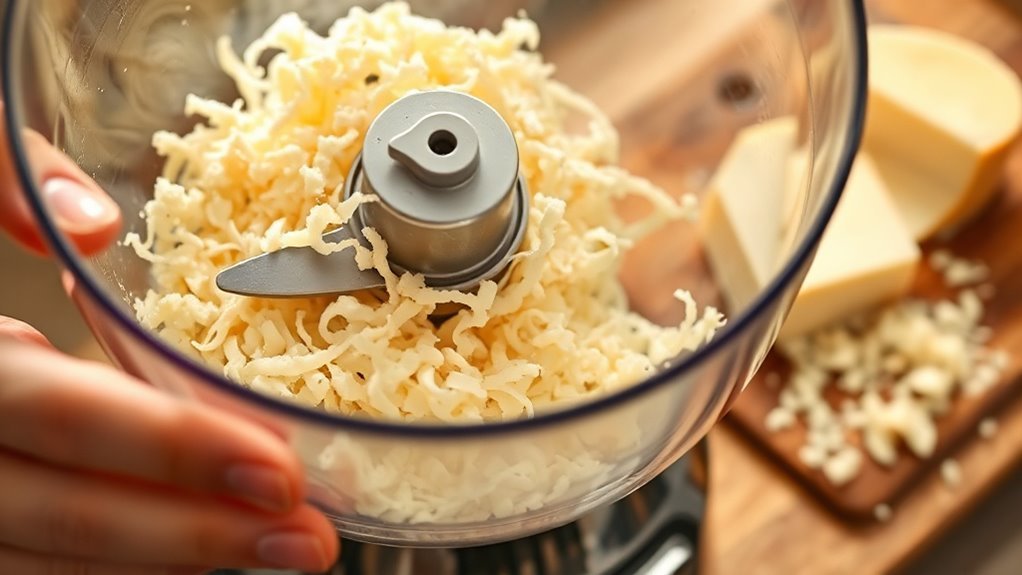
When shredding cheese in your food processor, start by chilling the block for at least 30 minutes so it firms up and shreds cleanly without turning mushy. If you’re in a hurry, flash-freeze it for 15 to 20 minutes.
Cut the cheese into 1 to 2 inch cubes or slices to feed smoothly through the chute and prevent jams. Attach the coarse or shredding disc, not the slicing blade, then add 1 to 2 cup batches to avoid clogging.
Pulse in short 1 to 2 second bursts, checking after 5 to 10 pulses for the perfect shred size. This method works great for softer cheeses and even cold butter if you’re prepping for baking.
Don’t forget, grated parmesan can also be shredded this way, saving time and effort. By following these steps, your shredded cheese will be consistent and ready to use in any recipe without fuss or mess.
Easy Cleanup Tips After Shredding Cheese
Right after shredding cheese, you should run the bowl, lid, and shredding disk under warm soapy water to stop cheese from cooling and sticking. To make cleanup easier, rinse immediately to prevent residue buildup. Here are three quick tips:
Clean your cheese shredding tools immediately with warm soapy water to prevent sticking and residue buildup.
- Fill the bowl halfway with warm water and a drop of dish soap, secure the lid, and run the processor for 10 to 15 seconds. Then, pour out and rinse immediately to dislodge stuck cheese bits.
- Use a small brush to clean crevices around the feed tube and blade hub where cheese often hides. This guarantees no residue remains.
- For stubborn, dried-on residue, soak parts in hot water mixed with a tablespoon of vinegar for 10 to 15 minutes, then scrub gently.
Finally, always dry thoroughly to prevent odors and bacteria. If your parts are dishwasher-safe, place them on the top rack, but hand-dry the sharp shredding disk to keep its edge sharp.
Other Foods You Can Slice and Shred With Your Food Processor

Cleaning up after shredding cheese keeps your food processor ready for the next task, which often involves slicing and shredding other ingredients. You can effortlessly create apple slices and cucumber ribbons using the slicing disc. Just feed firm fruits like apples and vegetables such as cucumbers through the chute with steady pressure, and you’ll get uniform results in seconds.
The shredding disc works well for firm vegetables like carrots, zucchini, and raw beets, producing quick, consistent shreds perfect for salads or slaws. For coleslaw, quarter a cabbage head, remove the core, and shred wedges in batches for even texture.
You can also slice potatoes thinly for chips or scalloped dishes by adjusting the disc to about 1–2 mm. Avoid soft fruits that might puree instead of shred. With these versatile discs, your food processor isn’t just for cheese; it’s a time-saving tool for prepping a variety of fresh, crisp ingredients.
Frequently Asked Questions
Can I Shred Frozen Cheese in a Food Processor?
Yes, you can shred frozen cheese in a food processor, but you’ll want to avoid fully frozen blocks. Use flash freezing tips by chilling the cheese for 15–20 minutes until firm but not rock-hard. This helps with cheese thawing just enough to prevent damage to the blades and guarantees even shreds.
Always use the shredding disk, feed small batches, and keep the cheese cold for best results.
What Types of Cheese Work Best for Shredding?
You’ll find that hard cheeses like Parmesan and Pecorino work well if you cut them into smaller chunks first, though their shreds might be finer or crumblier. Semi-soft varieties such as cheddar, Monterey Jack, and Gruyère shred the best because their moisture and fat content create firm, clean curls.
To get the best results, chill your cheese slightly before shredding. It helps firm up the texture and prevents clumping.
How Long Can Shredded Cheese Be Stored Safely?
You can safely store shredded cheese in the refrigerator for about 5 to 7 days if you keep it in an airtight container. To extend refrigeration timelines up to 2 weeks, remove as much air as possible and store it in the coldest part of your fridge.
For longer freezer longevity, freeze shredded cheese in sealed bags for 2 to 3 months for best quality, and up to 6 months for safety.
Can Shredded Cheese Be Used Directly in Cooking?
You absolutely can toss shredded cheese straight into your cooking without a second thought. It’s like magic for your cookware compatibility and recipe substitutions! Freshly shredded cheese melts faster, blending seamlessly into casseroles, sauces, and pizzas.
Just sprinkle it gradually over low heat to avoid clumps and guarantee smooth melting. This simple step makes recipe swaps effortless, letting you elevate any dish with gooey, creamy goodness right from the start.
Is It Safe to Shred Cheese With the Processor Running Continuously?
It’s generally not safe to run your food processor continuously when shredding cheese, as it can cause motor strain and risk blade safety. Instead, pulse in short bursts to prevent overheating and keep the blades sharp.
Running the processor nonstop can lead to melted cheese, uneven texture, and potential motor damage. To protect your machine and get the best results, shred cheese in small batches with intermittent pulses.
Conclusion
Who knew shredding cheese could be this effortless? Instead of wrestling with a grater and risking shredded knuckles, you’ve got a food processor doing the hard work in just five simple steps.
It’s almost ironic that something as simple as cheese shredding needed such a high-tech helper, but hey, we’re not complaining. Next time, skip the sore fingers and let your food processor take the wheel. Easy, quick, and mess-free!