10 Delicious Dishes You Can Make With a Food Processor
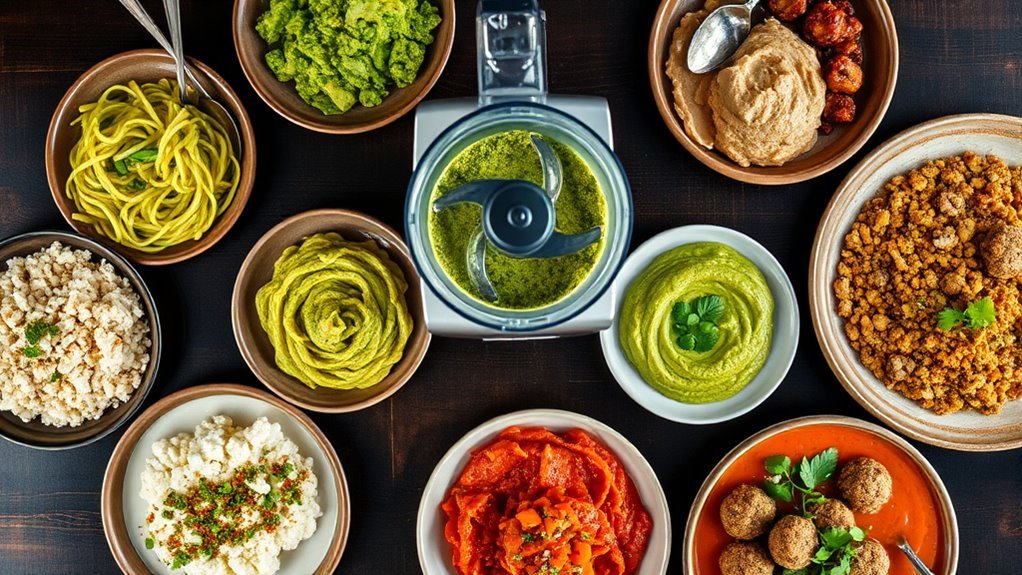
You can quickly whip up delicious dishes using your food processor, like crispy baked falafel, cheesy cauliflower grits, and smooth roasted butternut squash mash.
It makes thinly slicing Brussels sprouts for potstickers a breeze and helps you prepare easy carrot cheddar bites or smoky baba ganoush with perfect texture.
You can also blend creamy butternut squash pasta sauce or mix quick curried chickpea salad for a protein-packed lunch.
Keep going to discover more tasty, time-saving recipes.
Why Use a Food Processor for Quick, Healthy Meals
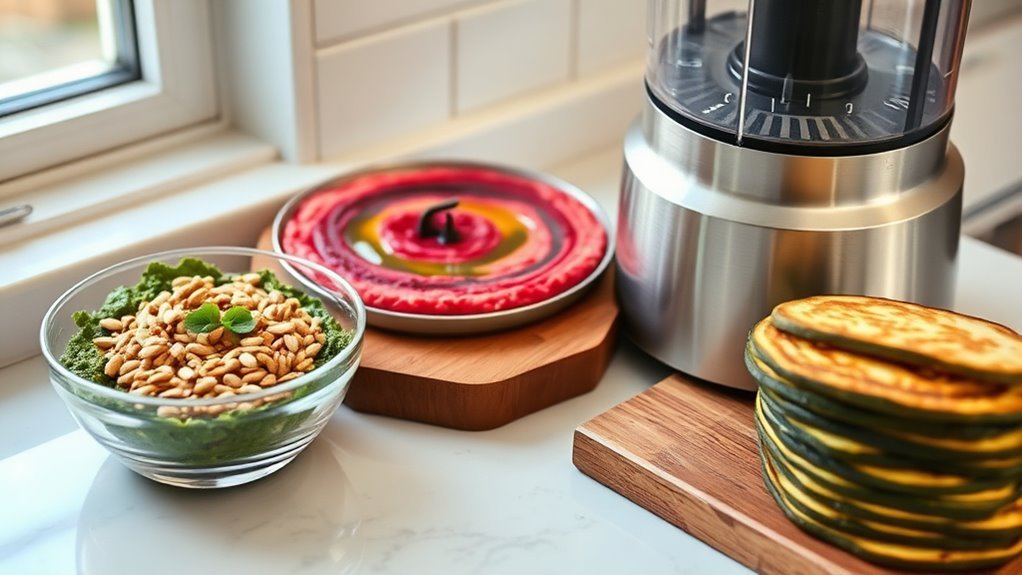
Save time and boost nutrition by using a food processor to prep your meals. With a 7 to 10 cup model, you can quickly chop, shred, or puree ingredients through the wide feed tube. This turns raw veggies into uniform shreds or velvety smooth bases for soups and sauces.
Save time and enhance meals by quickly chopping, shredding, or pureeing veggies with a 7 to 10 cup food processor.
Food processor recipes let you transform cooked cauliflower into creamy “grits” or blend roasted squash into silky pasta sauces. This cuts calories while adding fiber and vitamins. You can pulse-mash chickpeas for dips or salads in under a minute, ensuring consistent texture and plant-based protein with less sodium than store-bought options.
Whipping up dressings, pestos, or nut-based sauces becomes effortless, as gradual oil emulsification creates stable, smooth results tailored to your dietary needs. Batch-processing staples like hummus and shredded vegetables means you’ll have ready-to-use components for quick meals. This reduces takeout and increases vegetable intake.
Using a food processor streamlines your cooking, making healthy meals faster and easier than ever.
Make Crispy Baked Falafel Using a Food Processor
Transform soaked chickpeas and fresh herbs into crispy baked falafel with your food processor. Food processors make your life easier by quickly blitzing soaked chickpeas (avoid canned) with parsley, cilantro, onion, garlic, cumin, coriander, salt, and baking powder. Pulse until coarse, not puréed, to keep the perfect falafel texture.
If the mixture feels too wet, add chickpea or all-purpose flour to absorb moisture, kind of like how nut butter firms up when chilled. Chill the mix for 30 to 60 minutes, then shape into tight balls or patties to help them hold during baking.
Lightly brush with olive oil and bake at 400°F for 18 to 25 minutes, flipping once, until golden and crisp. Serve immediately for maximum crunch or reheat in a hot skillet or oven to restore crispness.
This versatile falafel mix also freezes well and makes delicious salad or wrap patties, proving why food processors are indispensable kitchen tools that truly make your life better.
Whip Up Cheesy Cauliflower Grits in Minutes

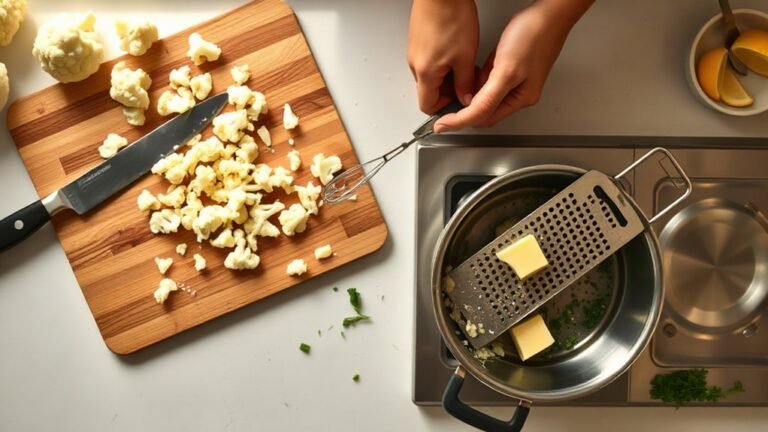
Using your food processor, you can quickly pulse cauliflower into rice-sized pieces, creating the perfect base for cheesy cauliflower grits. Attach the blades and discs to chop one medium head of cauliflower into about 4 to 6 cups of granules.
Steam or microwave the cauliflower for 5 to 7 minutes until tender. Then, return the hot cauliflower to the processor and add 2 to 4 tablespoons cream cheese, 1/3 to 1/2 cup sharp cheddar, and 2 to 4 tablespoons milk or cream. Blend until smooth and creamy, just like a rich ice cream texture.
Season with salt, black pepper, and a pinch of smoked paprika or nutmeg to taste. For extra richness, stir in butter and chopped chives or sautéed vegetables after blending.
You can store leftovers in an airtight container for up to four days and gently reheat with a splash of milk to restore that creamy consistency. Whipping up cheesy cauliflower grits with your food processor is fast and delicious!
Blend Smooth Roasted Butternut Squash Mash
Even if you’re short on time, roasting butternut squash brings out its natural sweetness and makes for a creamy, flavorful mash. Start by roasting 2 to 3 pounds of peeled, seeded squash at 425°F until fork-tender with caramelized edges for max flavor.
Transfer the warm roasted squash to your food processor and pulse with 2 to 4 tablespoons of butter or butter alternatives like olive oil, plus 1/4 to 1/2 cup of stock, milk, or cream. Use the S-blade and blend for 30 to 60 seconds, scraping down once, until you get a smooth, velvety texture.
Season with salt, pepper, and optional nutmeg or maple syrup for depth. Adjust the liquid to your preferred consistency. For an extra silky finish, blend again with a bit of hot liquid for 10 to 15 seconds.
Serve warm, topped with toasted seeds or crispy sage for a delicious, effortless side.
Thinly Slice Brussels Sprouts for Potstickers
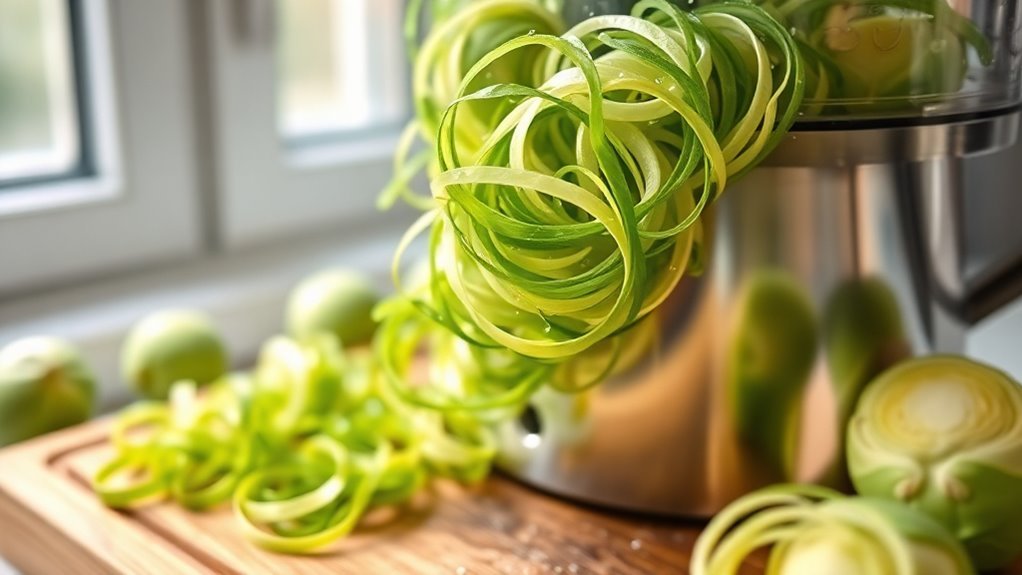
You can quickly slice Brussels sprouts with your food processor to get perfect, thin ribbons for potstickers. Just toss in some fresh ginger too—it adds an easy flavor boost that goes really well with the sprouts. This way, you speed up your prep, and the filling cooks evenly while staying fresh. Easy and tasty!
Quick Brussels Sprouts Slicing
With the slicing disk on your food processor, you can quickly shave Brussels sprouts into thin, uniform ribbons perfect for potsticker fillings. This technique beats knife alternatives by saving time and ensuring consistent thickness. Follow these slicing techniques for best results:
- Trim stem ends and remove loose leaves, then halve larger sprouts to prevent jamming.
- Work in 2–3 cup batches to avoid clumping and achieve even slices.
- Pulse briefly for thicker shreds or use continuous feed for ultra-thin ribbons, but don’t over-process to avoid mushiness.
After slicing, pat the shreds dry to remove moisture. This is an essential storage tip that keeps your filling from steaming the wrappers. This quick method makes prepping Brussels sprouts a breeze for delicious potstickers.
Ginger Flavor Integration
When preparing potsticker fillings, integrating ginger with thinly sliced Brussels sprouts adds a bright, aromatic note that elevates the overall flavor. Use your food processor’s slicing disk to shred sprouts 1–2 mm thin, ensuring a tender texture.
Add peeled ginger to the sprouts and pulse briefly, about 0.5 to 1 second, to finely integrate ginger nuances without creating a paste. This method preserves the zing and achieves a perfect aromatic pairing, balancing 2 cups of sprouts with 1 tablespoon of grated ginger.
Pulse in short bursts to avoid bruising or excess moisture, then drain the sprouts well to keep wrappers crisp. Using a sharp slicing disk and moderate speed helps maintain vibrant color and flavor, so your potstickers burst with fresh, lively taste every time.
Efficient Potsticker Filling Prep
For quick and uniform potsticker filling, thinly slicing Brussels sprouts with a food processor’s slicing disk is a game-changer. It creates thin ribbons that cook evenly and help you savor the texture in every bite. Here’s how to prep efficiently:
- Trim and halve sprouts to fit through a 7 to 10 cup processor’s wide feed tube; this avoids pre-chopping and speeds up the process.
- Pulse shredded sprouts with minced ginger, garlic, and soy sauce 6 to 8 times to balance spice pairing while keeping some crunch.
- Squeeze out excess moisture, then mix in vegan binders like cornstarch or beaten egg to guarantee a cohesive filling that seals well.
This method guarantees potstickers bursting with flavor and perfect texture every time.
Create Flavorful Cajun Boudin Egg Roll Filling
You can quickly whip up a tasty boudin filling by pulsing cooked sausage with cabbage and green onions in your food processor. It’s super easy and fast. Then, just add the right amount of Cajun seasoning and a splash of hot sauce to get the heat and flavor exactly how you like it. With these simple steps, you’ll have a delicious filling ready to wrap up and cook in no time.
Preparing Boudin Filling
Although boudin is delicious on its own, transforming it into a flavorful egg roll filling takes your Cajun cooking to the next level. Use your food processor to pulse 1 to 1.5 pounds of cooked boudin into a coarse, spreadable texture perfect for rolling. Then, add shredded cabbage and grated onion for moisture and balance without mushiness.
Here’s how to prepare your filling:
- Blend in Cajun seasoning, black pepper, and a splash of hot sauce or Worcestershire for authentic flavor.
- Use a beaten egg or breadcrumbs with chopped green onion to bind the mixture, ensuring it holds together.
- Chill the filling for 15 to 30 minutes, then portion 1 to 2 tablespoons per wrapper for even cooking.
Feel free to experiment with ingredient substitutions and texture variations to suit your taste. Serve with spicy dipping sauces for a tasty twist!
Cajun Seasoning Tips
Crafting a bold Cajun seasoning blend brings your boudin egg roll filling to life with authentic Southern flavor. Start with smoked paprika and homemade filé powder for earthiness. Toast whole spices like coriander briefly in a dry skillet, then pulse in your food processor to release aroma.
Add garlic and onion powder, dried oregano, thyme, and black pepper for depth. Don’t forget citrus zest and a splash of lemon juice or vinegar to brighten and balance heat. Adjust salt carefully if using store-bought sausage.
Mix seasoning gradually into the filling, tasting as you go to avoid overpowering.
| Ingredient | Quantity | Purpose |
|---|---|---|
| Smoked Paprika | 2 tbsp | Smoky base |
| Cayenne Pepper | 1-2 tsp | Heat level |
| Homemade Filé | 1 tsp | Earthy thickener |
| Citrus Zest | 1 tsp | Brightens flavor |
Make Easy Carrot Cheddar Bites
Often overlooked as a simple snack, Carrot Cheddar Bites come together quickly using your food processor to shred carrots and grate cheese evenly. This creates a flavorful, tender mixture that’s easy to shape and bake or fry for a deliciously melty treat. Start by pulsing 2–3 cups of carrots and shredding 1–1½ cups cheddar in your processor for perfect texture. Then mix in eggs, mustard, and seasonings until just combined.
Here’s how to make the most of these bites:
- Shape mixture into 1–1½ inch balls, freeze for 30 minutes, then bake or air-fry for crispy edges.
- Swap breadcrumbs with gluten-free alternatives for easy gluten free swaps.
- Prepare a batch ahead. These freeze well and reheat perfectly, making them ideal for meal prep or snack variations.
These Carrot Cheddar Bites offer a tasty, portable snack that’s simple, customizable, and sure to please.
Purée Smoky Baba Ganoush With a Food Processor
Transform roasted eggplants into a smoky, creamy baba ganoush using your food processor. Start by roasting eggplants until their skin chars and flesh collapses, revealing deep smoky flavor. Scoop the flesh into the processor and pulse with tahini, lemon juice, garlic, salt, and olive oil.
Use short bursts to maintain texture control, aiming for a creamy yet slightly chunky consistency rather than a thin puree. To explore smoky variations, gradually add smoked paprika or liquid smoke, tasting as you go to balance flavors.
For a silky finish, stream in extra olive oil while blending. Once done, transfer your baba ganoush to a bowl and garnish with smoked paprika, chopped parsley, and a drizzle of olive oil. For serving suggestions, pair it with warm pita, fresh vegetables, or as a spread on sandwiches.
Your food processor makes perfect smoky baba ganoush with just the right texture every time.
Blend Creamy Butternut Squash Pasta Sauce
You’ll get a silky sauce texture by blending roasted butternut squash with pasta water, cheese, and olive oil until smooth. It’s all about finding that perfect balance.
Adding aromatics, salt, pepper, and just a pinch of nutmeg really brings the flavors together. And don’t forget to taste and adjust the seasoning as you go—that’s the key to a perfect creamy pasta sauce.
Silky Sauce Texture
Bring out the natural sweetness of butternut squash by roasting it until tender, then blend it in your food processor with warm pasta water or broth to create a silky, smooth base. Achieving the perfect silky sauce texture involves mastering mouthfeel science and emulsion stability. Here’s how:
- Use short pulses to introduce texture contrast, creating a sauce that’s smooth yet not overly uniform.
- Gradually add liquid while blending to maintain emulsion stability, preventing the sauce from separating.
- Incorporate grated Parmesan or cream during processing to enrich the mouthfeel and enhance creaminess.
Scrape down the bowl to fully emulsify and avoid overprocessing once smooth, preserving the sauce’s structure. This technique transforms roasted butternut squash into a velvety, luxurious pasta sauce you’ll love.
Flavor Balancing Tips
Achieving that silky texture with your butternut squash sauce sets a great foundation, but balancing the flavors makes it truly shine. Start with an acid adjustment by adding 1–2 teaspoons of lemon juice or a tablespoon of white wine vinegar per 2 cups of squash to brighten the natural sweetness.
Add savory contrasts like grated Parmesan or nutritional yeast and a splash of olive oil or butter to deepen the flavor and enrich mouthfeel. Season gradually with salt and freshly ground pepper, pulsing and tasting to avoid over-salting.
To create texture layers, blend in roasted garlic, Dijon mustard, or fresh herbs like basil or sage. These steps guarantee your sauce is complex, vibrant, and perfectly balanced for that standout pasta dish.
Mix Quick Curried Chickpea Salad for Lunch
When making a quick curried chickpea salad, start by pulsing a drained can of chickpeas in your food processor until they’re coarsely mashed. This creates the perfect chunky texture for sandwiches. This chickpea texture keeps the salad hearty without turning mushy.
Next, add 2–3 tablespoons of plain yogurt or light mayo and 1–2 teaspoons of curry powder. Then pulse a few times to blend flavors evenly while controlling creaminess.
Try these simple steps for a tasty lunch:
- Pulse finely chopped celery and red onion for crunch and color.
- Stir in fresh cilantro or parsley, lemon juice, and salt to brighten flavors.
- Use spice swap ideas like garam masala or turmeric to vary taste.
For meal prep hacks, make a batch ahead. It keeps well for 3–4 days refrigerated, giving you a quick, protein-rich option ready to go.
Frequently Asked Questions
How Do I Clean My Food Processor Efficiently?
To clean your food processor efficiently, start by disassembling all removable parts. For deep cleaning, soak them in warm, soapy water to loosen stuck-on food.
Use a brush to carefully clean the blades, focusing on blade maintenance to keep them sharp and safe. To tackle odor removal, wipe the base with a vinegar solution or lemon juice.
Dry all pieces thoroughly before reassembling to prevent mold and prolong your processor’s life.
What Attachments Come With a Typical Food Processor?
A typical food processor comes with several handy attachments. You’ll usually get a slicing disc for even vegetable or fruit slices, a dough blade designed to knead dough easily, and sometimes a citrus juicer to extract fresh juice without much effort. These attachments help you tackle various kitchen tasks quickly.
Depending on the model, you might also find shredding discs or chopping blades, but those three are pretty standard and super useful.
Can a Food Processor Handle Frozen Ingredients?
Yes, a food processor can handle frozen ingredients, but you’ll want to be careful. Studies show over 60% of home cooks use frozen herbs to save time.
For best results, use the ice-crushing function for frozen herbs and partially thawed meats to avoid stressing the motor. Avoid processing rock-hard frozen blocks, as this can damage the blades.
Thawing slightly keeps your food processor running smoothly and guarantees even chopping.
How Much Food Can I Process at Once?
You can process a batch size that fits within your food processor’s bowl limits, which vary by model. Most home processors handle between 7 to 14 cups per batch, but it’s best not to overfill to guarantee even chopping or blending.
Pay attention to your machine’s processing capacity to avoid strain or inefficient results. If you have more food than the bowl limits allow, simply process in multiple batches for the best outcome.
Is It Safe to Put a Food Processor in the Dishwasher?
You might think tossing your food processor parts into the dishwasher is always safe, but it depends. Most bowls and lids handle dishwasher placement well, but check your manual first. Use a gentle detergent choice to avoid damaging seals or plastics.
Avoid the heated drying cycle because air drying preserves the parts better. So, yes, you can use the dishwasher cautiously, but handwashing certain components might extend their lifespan.
Conclusion
With your food processor as your trusty sidekick, whipping up quick, healthy meals becomes a breeze. It’s like having a magic wand that turns simple ingredients into delicious creations in no time.
From crispy falafel to creamy pasta sauces, you’ll save time and enjoy every bite. So, don’t hesitate. Let your food processor be the secret ingredient that transforms your kitchen adventures into effortless culinary triumphs.