How to Use a Blender as a Food Processor in 3 Easy Steps
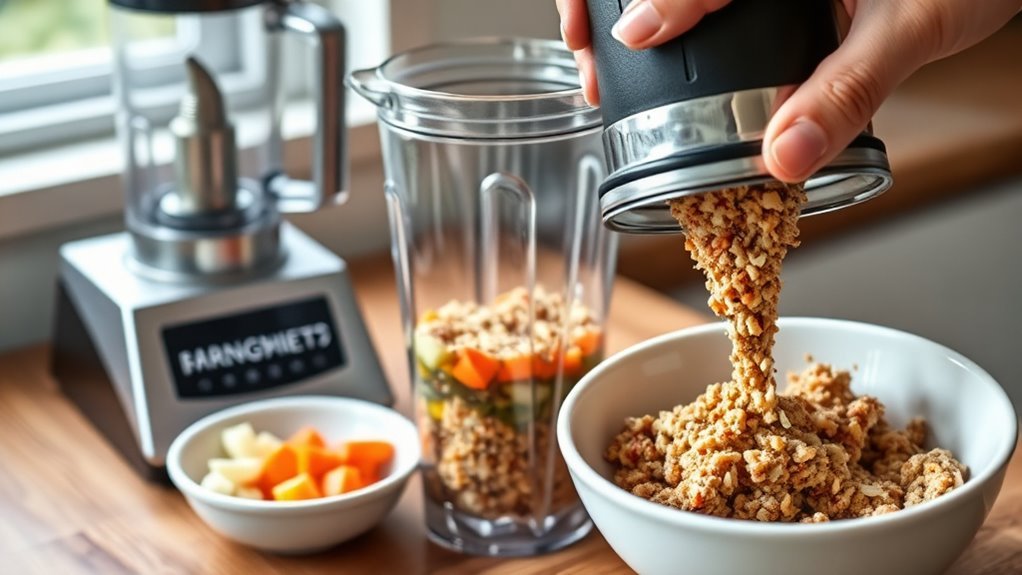
First, prepare your ingredients by washing, peeling, and cutting them into 1 to 2 inch chunks. Then securely assemble your blender with the pitcher, blade, and lid.
Next, use the pulse function in short bursts for coarse chopping. Spread ingredients evenly and work in small batches to get the best results.
For smoother textures, blend on low speed before briefly increasing to high, adding liquids sparingly if needed.
Finally, clean and dry your parts promptly to keep your blender ready. Keep going to master every step effortlessly.
Get Ingredients Ready and Assemble Your Blender
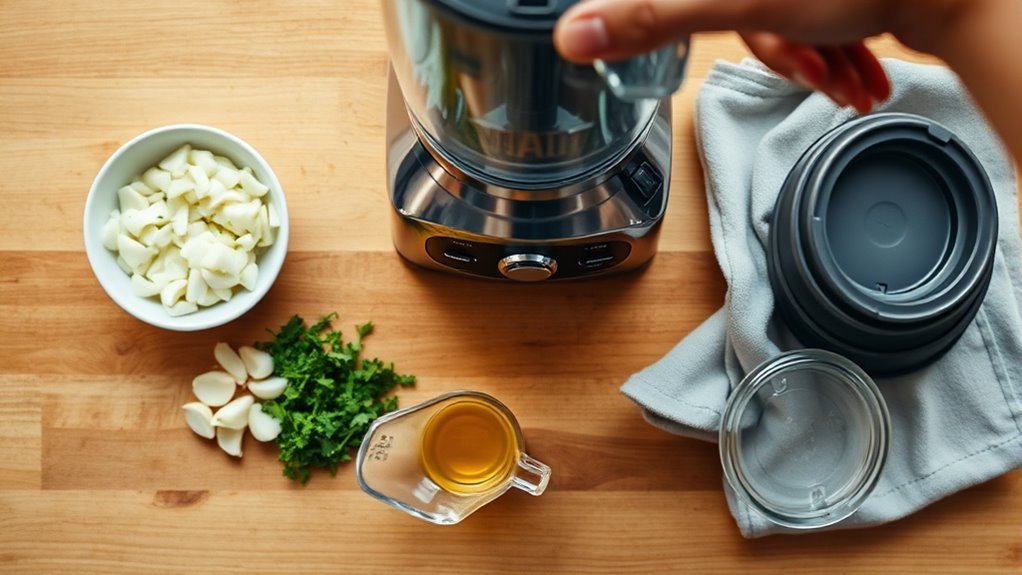
Start by washing, peeling, and cutting firmer ingredients like carrots, potatoes, or hard cheeses into 1–2 inch chunks to guarantee even processing without straining your blender’s motor. To achieve your desired consistency, work in smaller batches. Fill the blender jar only about one-quarter to one-half full. This assures better circulation and even chopping, making your versatile kitchen tool more efficient.
Add liquids or oils sparingly, just a tablespoon or two if needed, especially for creamy recipes like hummus. Most dry chopping tasks don’t require extra liquid. Next, assemble the pitcher, blade assembly, and lid securely on a cool, stable surface. Make sure the lid’s feed chute or cap is closed before you power on.
Preparing your ingredients and assembling your blender properly sets you up for smooth, precise food processing. This way, you protect your blender and get consistent results every time.
Pulse and Blend to Achieve Perfect Food Processing Textures
Once your ingredients are properly prepped and your blender is securely assembled, you can begin pulsing and blending to achieve the perfect texture for your dish. Use the pulse function in short bursts of 1–2 seconds to coarsely chop firmer items like nuts or frozen fruit, checking frequently to prevent overprocessing.
Begin with short pulses to coarsely chop firmer ingredients, ensuring perfect texture without overprocessing.
For even chopping, work in small batches. Fill no more than a quarter of the jar and spread ingredients evenly around the blades. Start blending on low speed to draw everything in, then briefly increase to high for smoothing.
When making creamy spreads like peanut butter, alternate between blending and pulsing while scraping the sides to guarantee an even texture. If the mixture stalls, add small amounts of liquid or oil.
For grated or shredded textures, quick pulses with frequent stops to redistribute solids will get you the desired consistency without pureeing. This approach gives you full control over your food processing textures using your blender.
Clean Your Blender and Store It Properly After Food Processing
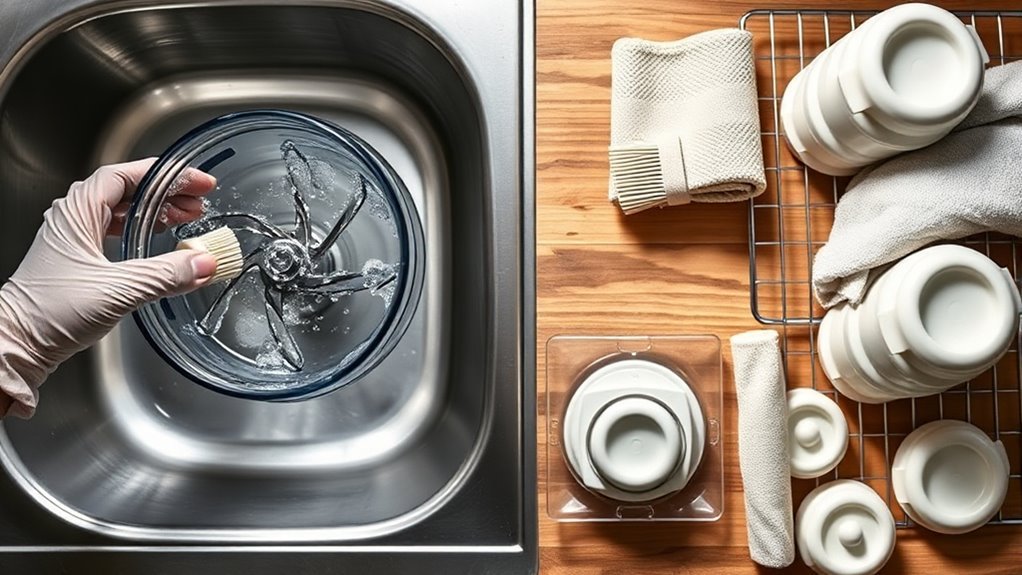
After you finish using your blender, unplug it and take apart the pitcher, blade assembly, lid, and any removable gaskets right away to stop food from drying and odors from developing. Rinse or soak these parts in warm, soapy water within 30 minutes. Use a soft brush to remove stuck-on food like bread crumbs.
Wash dishwasher-safe components on the top rack, and hand-wash others with mild detergent. Dry everything thoroughly to prevent mold and corrosion.
Wipe the motor base with a damp sponge. Never immerse it. Make certain the power cord and vents are dry before storing. Reassemble only when all parts are dry.
Store the pitcher upside down with the lid loosely on to allow airflow. Keep your blender in a cool, flat spot or cabinet to protect blades and seals.
| Step | Action | Tip |
|---|---|---|
| Unplug & Disassemble | Remove all parts immediately | Prevent odor and drying |
| Clean | Soak, brush, wash parts | Remove bread crumbs thoroughly |
| Dry | Air dry or towel dry | Avoid mold and corrosion |
| Store | Upside down, lid loose | Protect blades and seals |
Frequently Asked Questions
Can I Use a Blender for Dough or Thick Batters?
You can use a blender for thick batters, but don’t expect great kneading performance or gluten development. Blenders struggle with hydration ratios needed for proper dough texture.
For light doughs or quick breads, pulse in small batches and avoid overfilling. Always add liquids gradually to keep batter pourable and protect the motor.
For true kneading and gluten development, you’ll need to finish by hand or use a stand mixer with a dough hook.
What Types of Blenders Work Best as Food Processors?
High torque motors work best when you want to use a blender as a food processor because they handle tough ingredients without stalling. Look for wide mouth jars; they let ingredients circulate better, ensuring even chopping.
Detachable blades make cleaning easier and often improve versatility. Choosing a blender with these features means you’ll get smoother, more consistent results, especially when processing dense or larger batches of food.
How Do I Prevent Ingredients From Sticking to the Blades?
Think of your blender blades like a busy dance floor. Without breaks, dancers (ingredients) get stuck. To keep things moving, use the pulse technique in short bursts, letting ingredients jostle without clumping.
Add a splash of oil coating to lubricate the mix, and don’t forget intermittent scraping to clear the sides. This trio prevents sticky buildup, ensuring your blend stays smooth and your blades stay happy.
Is It Safe to Process Hot Ingredients in a Blender?
Yes, you can safely process hot ingredients in a blender if you’re careful. To avoid steam buildup, never fill the pitcher more than halfway with hot contents and vent the lid to let steam escape. Cover it with a kitchen towel to prevent splashes.
Start blending at low speed to reduce thermal shock and sudden pressure changes. Always remove the lid away from your face after turning the blender off to prevent steam burns.
Can I Use Frozen Ingredients in Place of Fresh Ones?
Yes, you can use frozen ingredients instead of fresh ones, but keep in mind that thawing helps reduce ice crystal effects that can affect texture differences. Thaw your ingredients slightly or add extra liquid to prevent motor strain and uneven chopping.
Using the pulse function in short bursts helps maintain a chunkier texture. Just avoid blending large ice blocks unless your blender is heavy-duty, as they can dull blades and damage the motor.
Conclusion
Now that you know how to use your blender as a food processor, you’re ready to tackle any recipe with ease. Just remember to prep your ingredients, pulse to the perfect texture, and clean up promptly.
Like a skilled painter blending colors on a canvas, your blender transforms simple ingredients into culinary masterpieces. With these steps, you’ll save time and keep your kitchen humming smoothly, making meal prep a breeze every time.